
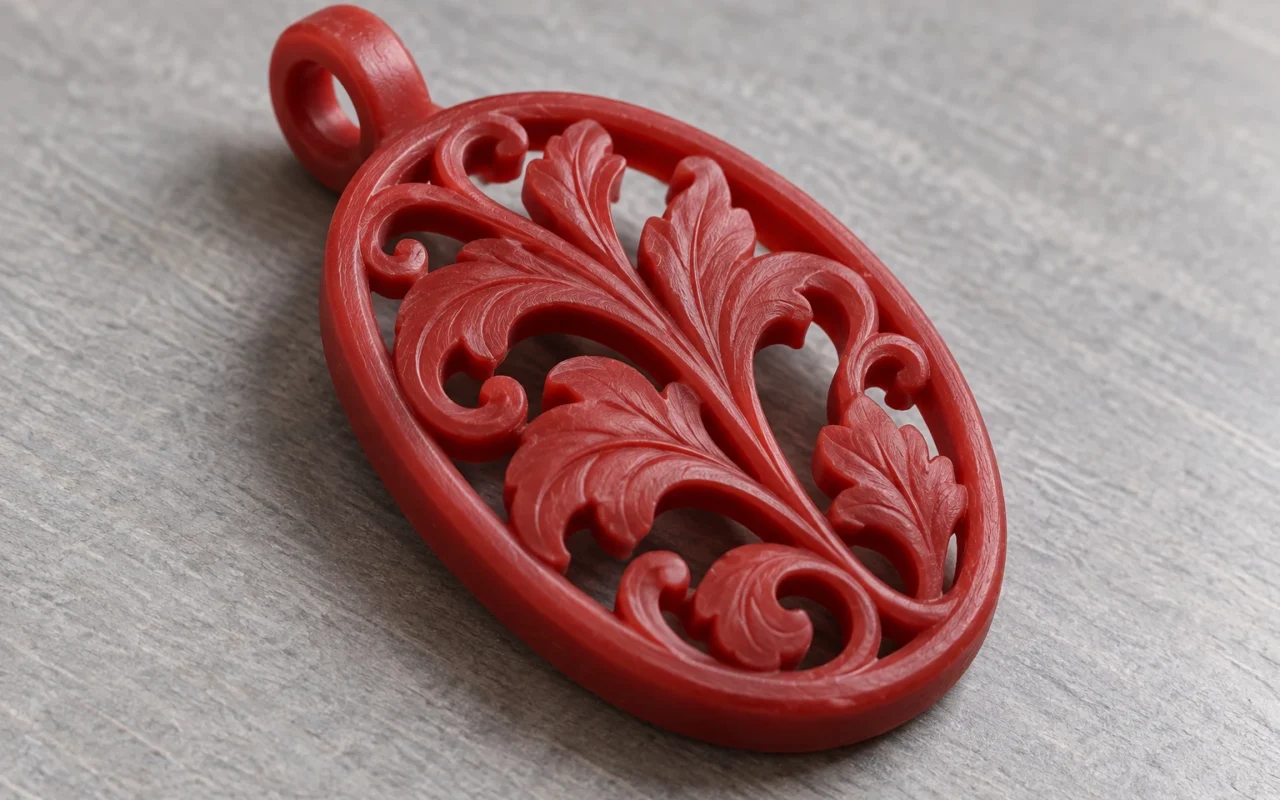
A wax pattern for a cast ring can be carved from a wax block, milled from a digital model, injected into a mold or printed directly. All four methods produce patterns, but their preparation, revision processes and arrangements for repeat production differ.
When choosing a wax pattern making method, start with design maturity, repeat quantities, how the geometry will be made, and the people and tools available. Hand carving allows direct sculpting; CNC milling machines digital geometry with cutters; injection organizes production around reusable tooling; direct wax printing builds the pattern layer by layer from a file.
1 Understand first patterns and repeat production
A first pattern helps confirm a design’s shape and manufacturability. A master is used for subsequent reproduction, and an injection mold repeatedly produces wax patterns. The wax pattern that enters lost-wax casting is consumed during wax removal. The investment mold or ceramic shell is the mold that subsequently receives the metal.
Printing a master and directly printing a casting pattern therefore lead to different next steps. A printed master still requires mold making, reproduction and inspection of the copied wax patterns. A directly printed pattern proceeds, after cleaning and inspection, to tree assembly and other casting preparations.
Consider two hypothetical orders: one piece of each of ten designs, and ten pieces of one design. The totals are identical, but the first involves several designs, while the second may share one validated tool. If ring size, stone settings or texture are still changing, include the number of versions in the preparation work.
Before choosing a route, organize the available CAD files, physical samples, masters and molds. Plan an unconfirmed first sample separately from a repeat order with an existing qualified mold.
2 Hand carving shapes the design directly
Hand carving commonly starts with wax tubes, bars or blocks. The craftsperson cuts, carves and trims them into the required shape. Freeman’s jewelry carving wax information lists these stock forms as starting points for different shapes.
During carving, the craftsperson can inspect the physical object and adjust its curves, volume and texture. This supports designs whose form develops through making and observation. Whether a complex shape can be carved by hand depends on the particular geometry and the person’s experience.
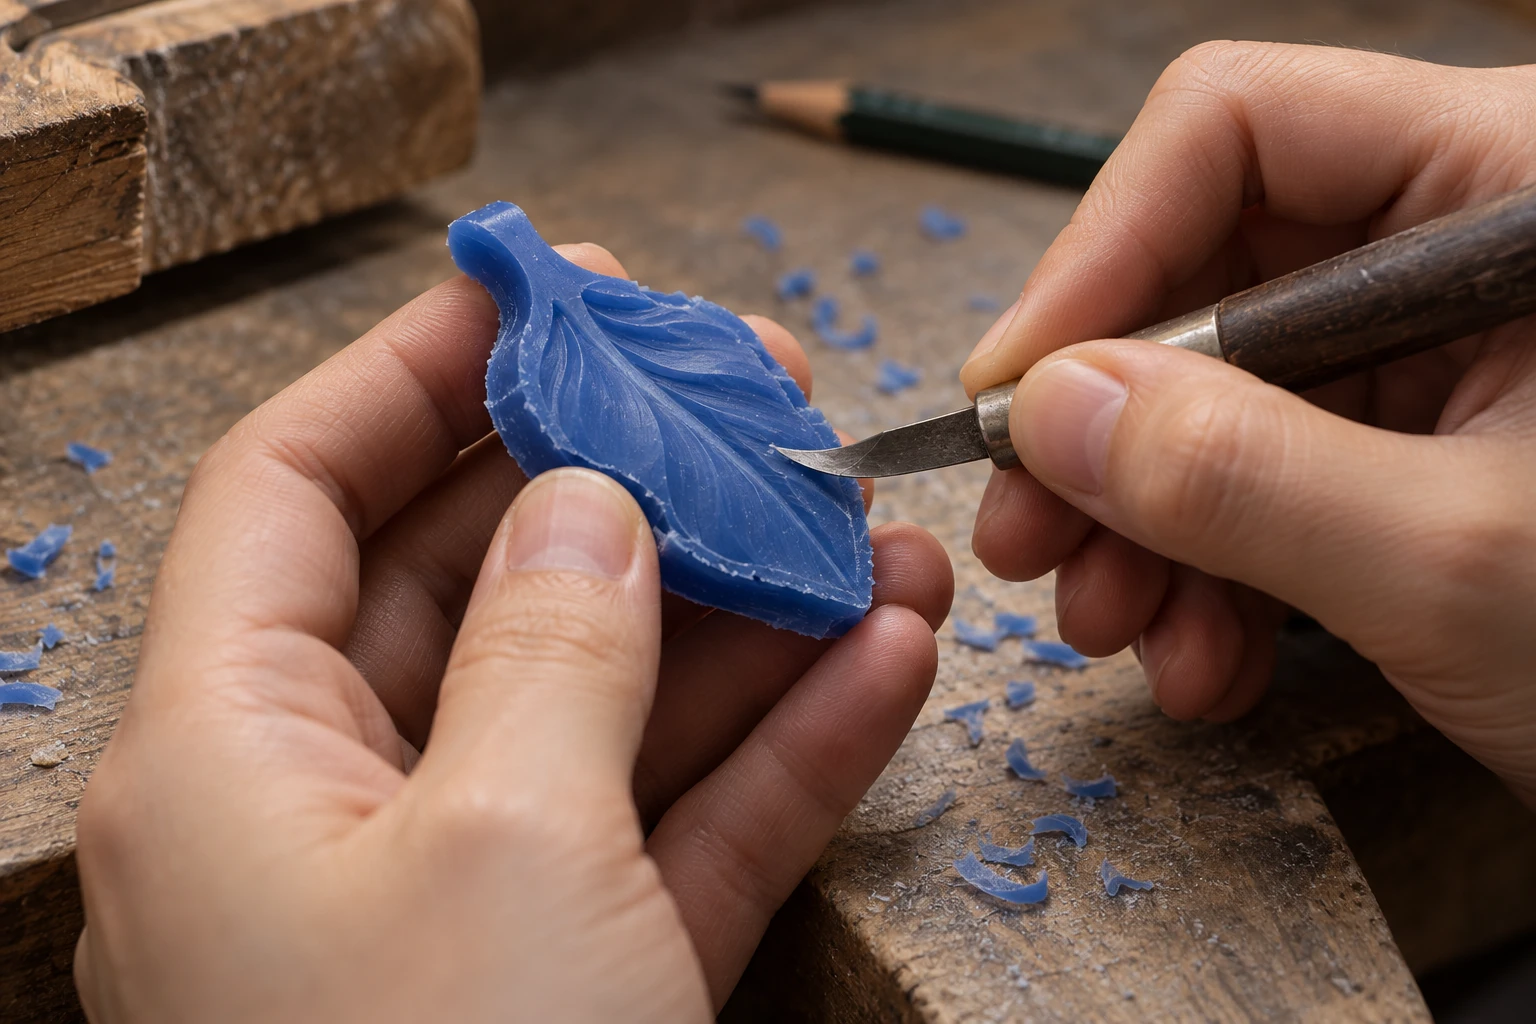
For a pendant with a freeform texture, for example, the relief can first be refined on the physical piece. If dimensionally consistent copies will be needed later, decide how to preserve the first shape. Keeping a master, making a mold or creating a digital model are options to assess.
Repeat production requires further planning after the first hand-carved piece is complete. Photographs alone usually cannot recover its back, internal structures and every manufacturing dimension. Retain measurements, shaping records and physical references for repeat orders.
3 CNC milling removes material under digital control
CNC wax milling removes excess material from a blank. After machining preparation, the digital model is converted into toolpaths that guide the machine’s cutters. Roland’s official JWX-30 support information provides technical background on jewelry wax milling, machining software and toolpaths.
Assess the model against actual machining conditions. Can a cutter reach a deep cavity? Can the chosen tool form the internal corners? Can the blank be held securely? A complete-looking CAD model does not automatically answer these questions.
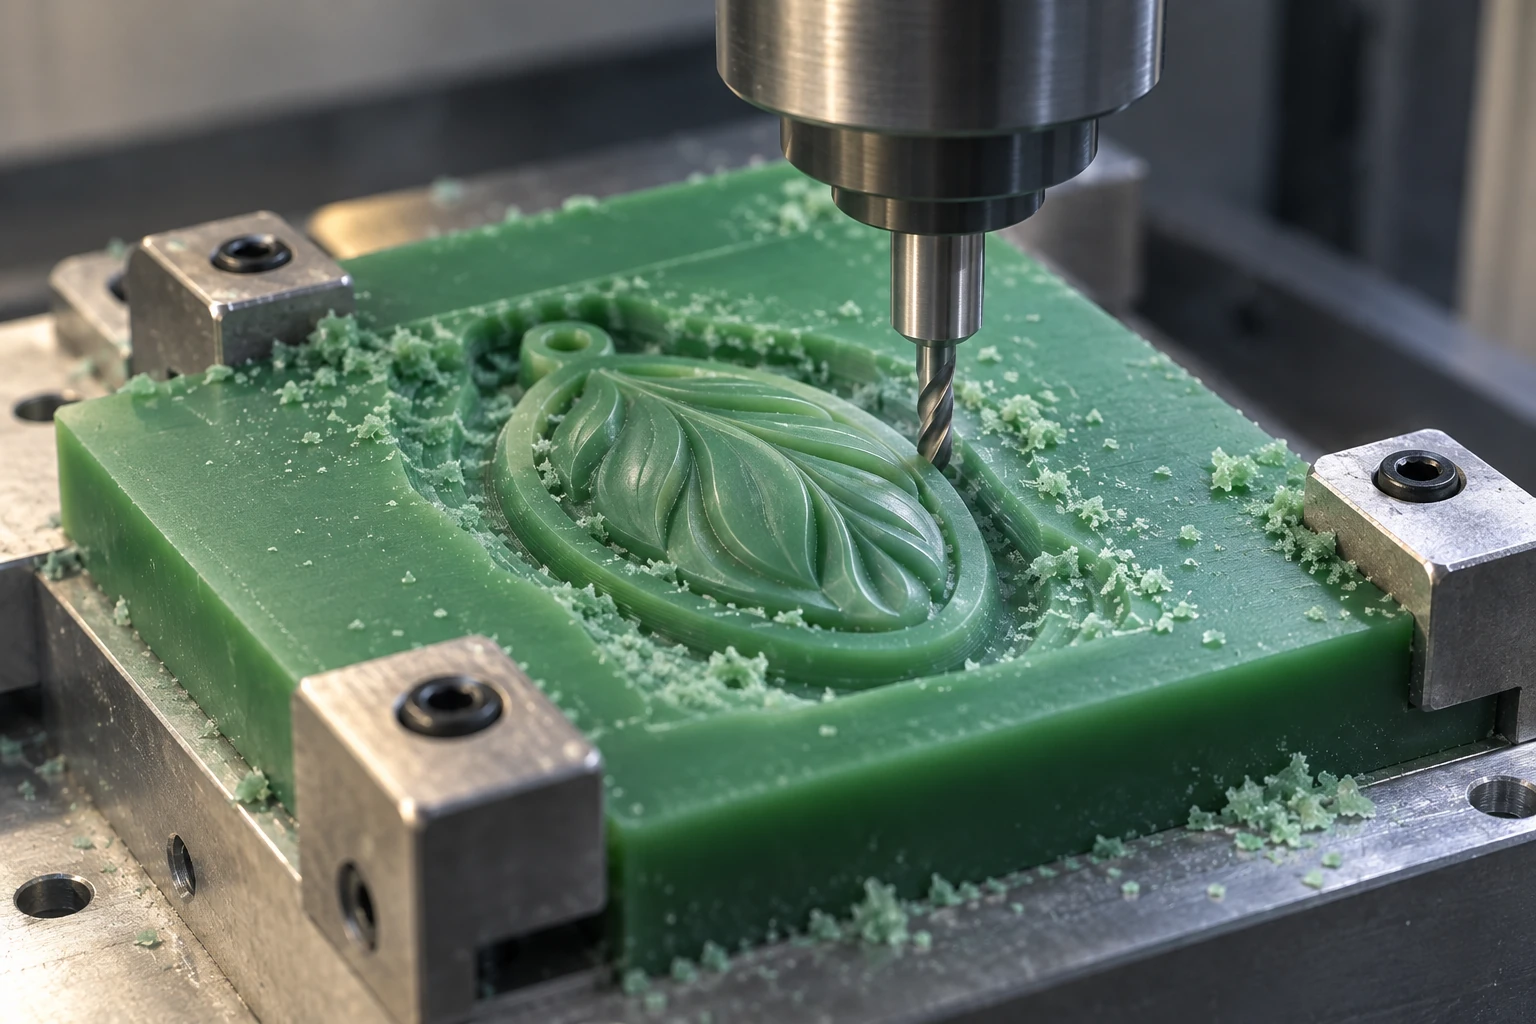
The outside and inside of a ring may need different machining directions. When the job requires flipping or multiple setups, check location accuracy and how the machined regions meet. Undercut access depends on machine axes, cutters, workholding and strategy; complexity alone does not settle the question.
After a design revision, update the machining files and recheck the toolpaths. Include machining preparation, workholding, any necessary joining and trimming in the complete delivery process for this route.
4 Wax injection repeats a shape using tooling
Wax injection begins with a reusable mold. Suitable wax is injected into its cavity, allowed to form, then removed for inspection and any necessary trimming. Jewelry workflows can use molds reproduced from a master; the specific tooling depends on the project.
The key is whether complete patterns can repeatedly form and be removed successfully. Freeman’s Ferris injection wax information distinguishes formulations for detail, flexibility and release, showing why wax selection needs to suit the mold and geometry.
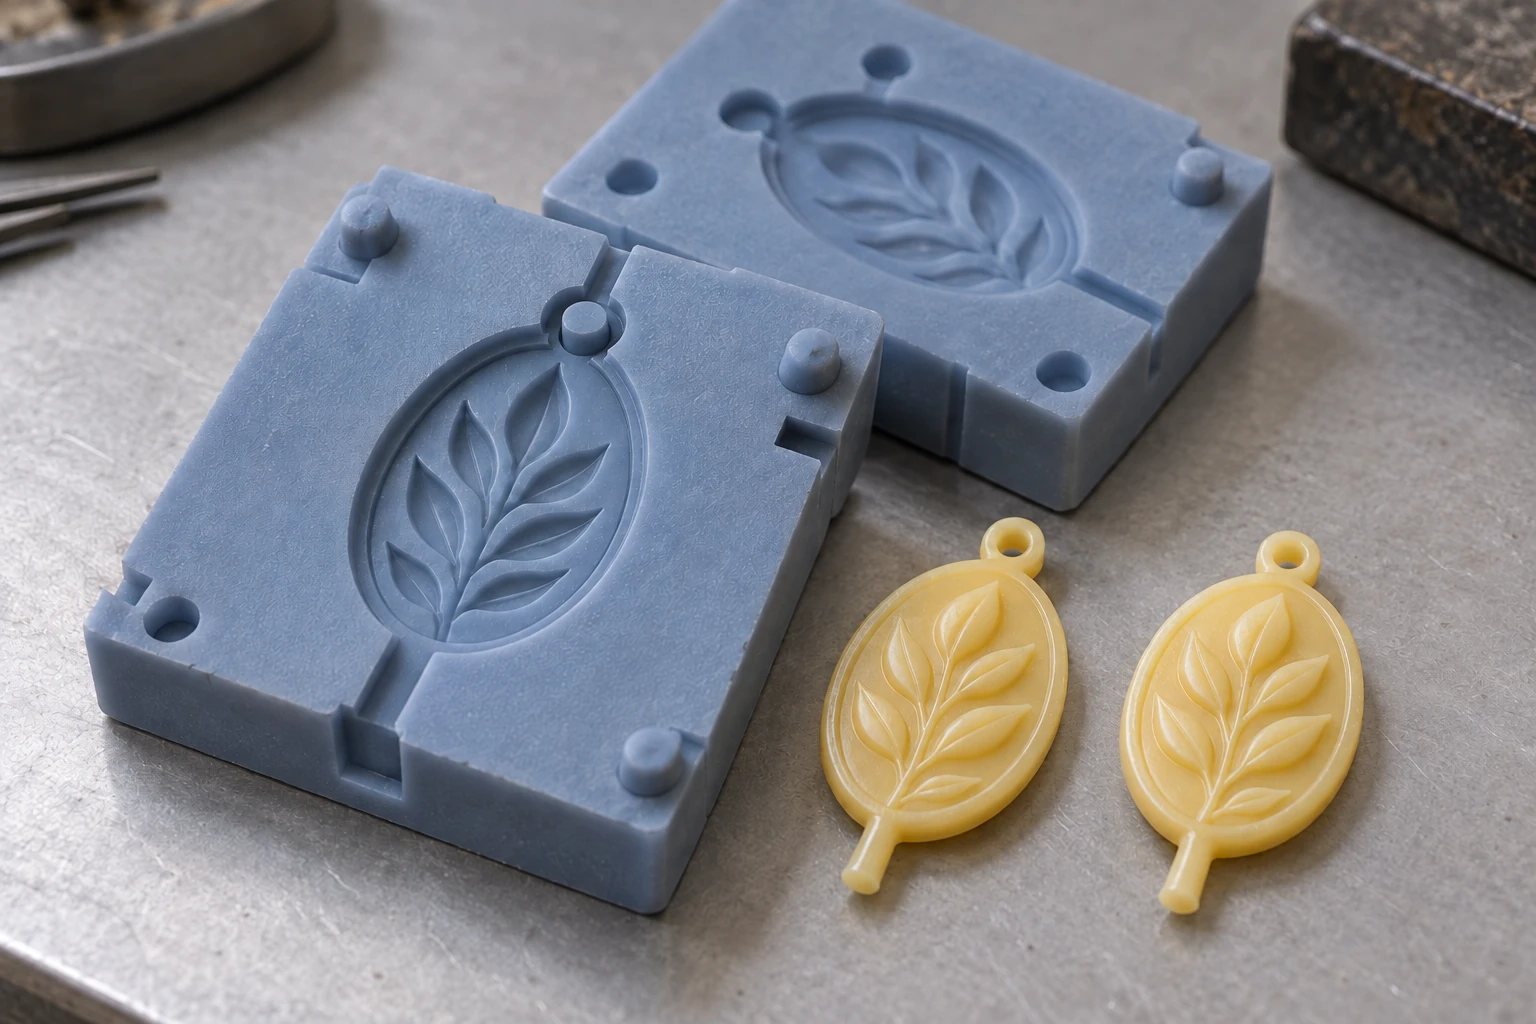
Plan mold separation and extraction around fine connections, deep recesses and undercuts. Even when a cavity reproduces a detail, removal may load that area. Inspect the fully extracted wax pattern rather than stopping at successful mold making.
For stable designs with ongoing repeat orders and a qualified mold, first assess the existing tool and injection process. Design changes may require revising the master, adjusting the mold or making a new one. Evaluate ring-size changes against the geometry too; one mold should not be assumed to cover every size.
Injection waxes and printing materials have different system requirements. Suitability for injection into a mold does not establish suitability for a wax-jetting printer.
5 Direct wax printing builds patterns from files
Direct wax printing starts with a digital model. Confirm dimensions and version, then prepare orientation, supports, slicing and layout. Wax jetting deposits wax layer by layer to form the pattern and the supports needed during printing. 3D Systems’ MultiJet Printing overview identifies casting wax as one of the materials deposited by this process.
This route removes the step of first making a dedicated injection mold for each new geometry. For many designs in small quantities or frequent revisions, assess digital file updates and remanufacture in particular. Repeat production of one design can also be compared under actual batch conditions.
After printing, patterns still need removal from the machine, support removal and inspection. Consider access for cleaning internal openwork, preservation of fine connections and how parts will be supported during handling. Printable geometry must also reach the casting team in an acceptable condition.
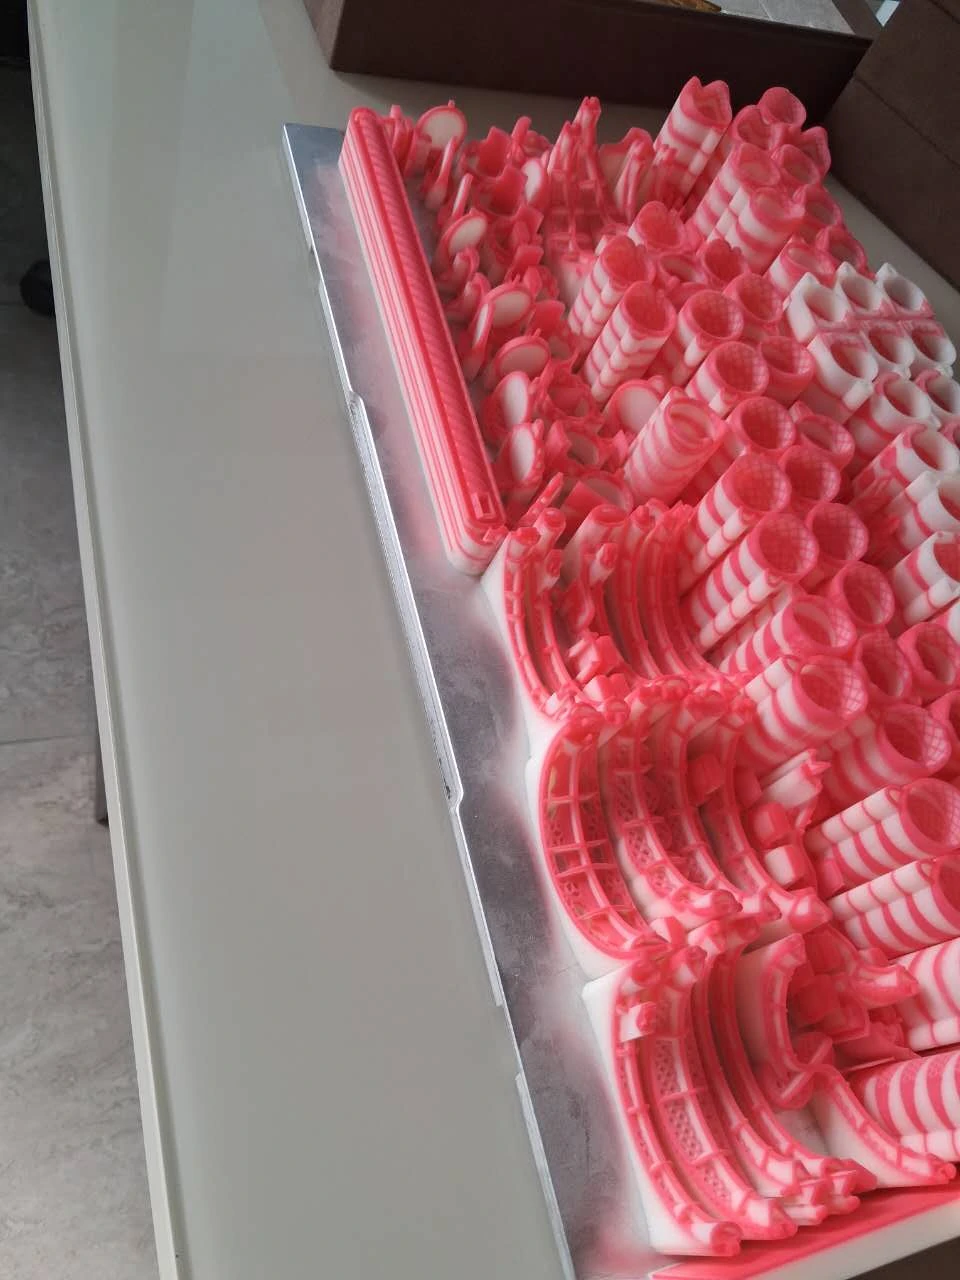
Cprint 3D’s 3H-420 Plus uses multi-nozzle wax jetting to make patterns for subsequent casting. The printer produces intermediate patterns; metal parts are obtained through casting and the relevant downstream machining or finishing.
Assess castable resin as a separate material system
Castable resin can also make sacrificial patterns, but its material and processing differ from directly jetted wax. Confirm forming, cleaning, any required post-curing and thermal removal for the particular resin, together with compatibility with the investment or shell system.
“Castable” describes the intended use. Even a resin containing wax cannot simply adopt build-wax processing conditions. Identify the material and process explicitly rather than grouping everything under “3D printed wax models.”
6 Select and combine routes for the order
Compare the methods on one job sheet first, identifying their inputs, tools and where design changes are handled.
| Method | Main inputs | Preparation | After a design change | Key checks |
|---|---|---|---|---|
| Hand carving | Dimensions, references and carving wax | Tools and craftsperson scheduling | Reshape or remake the physical piece | Shape records and repeat reproduction |
| CNC wax milling | Digital model and wax blank | Toolpaths, workholding and location | Update model and machining preparation | Cutter access and setup transitions |
| Wax injection | Usable mold and compatible wax | Initial mold making and trials, or existing-tool inspection | Assess master, mold and process changes | Intact demolding and repeat quality |
| Direct wax printing | Approved digital model | Orientation, supports, slicing and layout | Update file and print job | Cleaning access and pattern handover condition |
Routes can be combined across project stages. Make physical samples to confirm appearance during design exploration, then assess reproduction tooling once the design is fixed. Keep validated tools for stable repeat orders and prepare new designs separately through digital pattern making. Include staff capability and downstream receiving conditions in the choice.
If a printed part will serve as a master, first check material compatibility with mold-making temperature, pressure and demolding. Ordinary printed build wax cannot be assumed to withstand any heat-vulcanization process; select a suitable master material and molding method.
After switching from direct printing to mold reproduction, inspect the copied wax patterns and relevant casting trials again. Identical CAD does not validate a new forming process, and existing compensation settings also need review.
7 Compare results against the same acceptance requirements
Before comparing routes, record five things on the job sheet: design status, repeats of the same design, critical geometry, available staff and equipment, and the handover requirements for an acceptable pattern. Alongside total quantity, specify the distribution of designs and sizes.
Acceptance requirements should identify critical dimensions, important surfaces, openings and connections to preserve, and permitted trimming. For direct casting patterns, confirm material suitability for the downstream process. For masters, also check mold making and the reproduced results.
Use the same delivery endpoint: acceptable patterns with cleaning, trimming and inspection complete. This compares carving, workholding, mold making, printing and post-processing as complete workflows. For a quantitative decision, collect hours, tooling investment and accepted quantities from the same project.
To assess wax printing, send Cprint 3D the model files, designs and quantities, critical features and proposed casting process so that sample evaluation can focus on the actual geometry.
Frequently asked questions
Do directly printed wax patterns still need a mold?
Direct printing can eliminate the dedicated injection mold used to reproduce that wax pattern. Lost-wax casting still requires an investment mold or shell to receive the molten metal.
Can hand-carved wax be converted into a digital model?
Measurement, scanning or remodeling of the physical piece can be assessed. Check exterior data against hidden structures, critical dimensions and design intent before producing a manufacturable digital model.
Is direct printing always best for small orders?
Consider an existing qualified mold, design stability, preparation and post-processing. Small quantities are a reason to assess printing, but quantity alone does not determine total cost.
How does printing a master differ from printing a casting pattern?
A printed master goes on to mold making and reproduction, so its material must suit that process. A directly printed wax pattern goes on to cleaning, inspection and casting preparation. State the intended use before production because the handover requirements differ.