
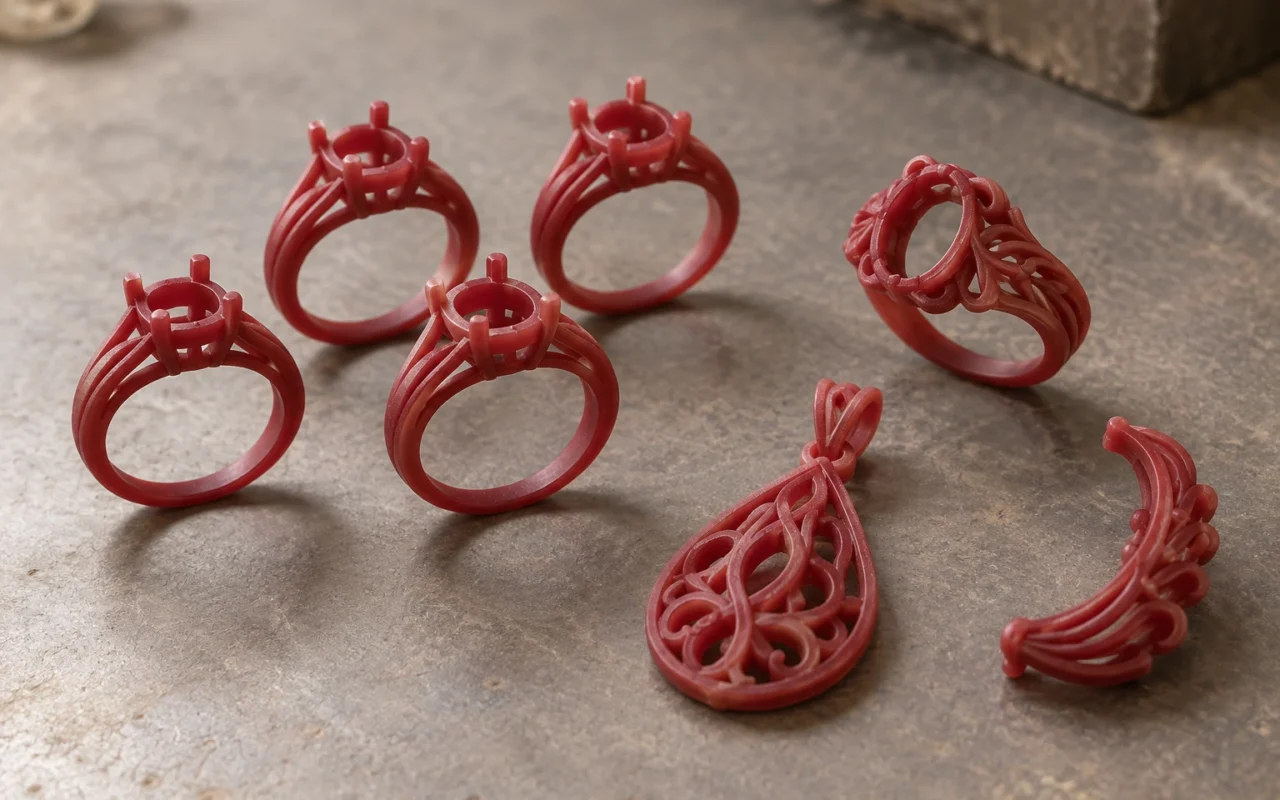
One jewelry design already has an approved mold and is ready for an unchanged repeat order. Another batch contains several designs and sizes that are still being revised. Even with the same total number of wax models, the two orders may call for different production arrangements.
Wax injection puts the initial investment into masters, molds and subsequent replication. Direct wax printing organizes production around digital files, build preparation and post-processing. Start with the design and tooling status, then compare costs and waiting time through to the handover of the same batch of acceptable wax models. Quantity matters, as do the number of designs, revisions and certainty of repeat demand.
1 How each route delivers wax models
Wax injection generally starts with a master, followed by a replication mold. Wax is injected, cooled and removed to produce a wax pattern. Ransom & Randolph’s jewelry casting process shows this relationship and the subsequent tree assembly, investing and casting into metal. The injection mold is a replication tool; the wax pattern is the expendable form used in the casting process.
Direct wax printing starts from an approved digital model. File checking, layout and build preparation lead to printing, followed by support removal, inspection and handover. This reduces dependence on replication molds during pattern production; the final metal part is still made by casting. 3D Systems’ investment casting pattern information distinguishes wax patterns from castable plastic patterns. This comparison concerns wax printing; resin routes require separate assessment of their materials and processing requirements.
Use a common comparison endpoint: wax models that meet the agreed dimensional, surface and fine-connection requirements, have received the necessary processing, and have been counted by design and size. If one quote includes wax finishing, inspection and packaging while the other covers only newly made patterns, first align the scope of work.
Tree assembly, investing or shell building, and pouring can be costed separately. However, identify trial-casting work arising from a change of wax material or pattern-making method. A lower pattern-making cost still needs to meet the requirements of the downstream casting.
2 Break quantity down by design, size and revision
To assess how much tooling investment can serve repeat production, establish how many pieces actually share the same stable design. Split the order into the following four situations before requesting quotes for both routes.
| Order situation | What to check first | Focus of the comparison |
|---|---|---|
| One stable design, repeated | Whether a suitable, approved mold already exists | Recurring injection, finishing and inspection costs versus the cost of delivering the complete printed batch |
| Small quantities of several designs | Whether designs can share tooling and how much preparation each needs | Multiple masters and molds versus handling and sorting a mixed printed batch |
| Frequent design revisions | Which features remain unapproved and when the revision will be frozen | Changes to masters, molds or files, plus the wait for renewed approval |
| One design in different sizes | Whether resizing also changes the stone setting and appearance | Tooling plans, file revisions and inspection requirements for each size |
For example, when a ring size changes, confirm whether the stone setting and basket retain their original design. Do not assume that scaling a file covers every size. Printing can use different file versions, but each still needs a clear design number, size and approval status.
Separate confirmed quantities from forecast repeat orders. A stable design does not guarantee continued purchasing. Compare the current order first, then examine lower and higher repeat-demand scenarios to see when the tooling investment is justified.
3 Injection costs continue after mold making
Initial tooling may include master production, mold making, mold trials, adjustments and approval. Once the mold is usable, each batch still involves injection, demolding, wax finishing, inspection, scrap handling and batch management. Long-term use may also require tool maintenance.
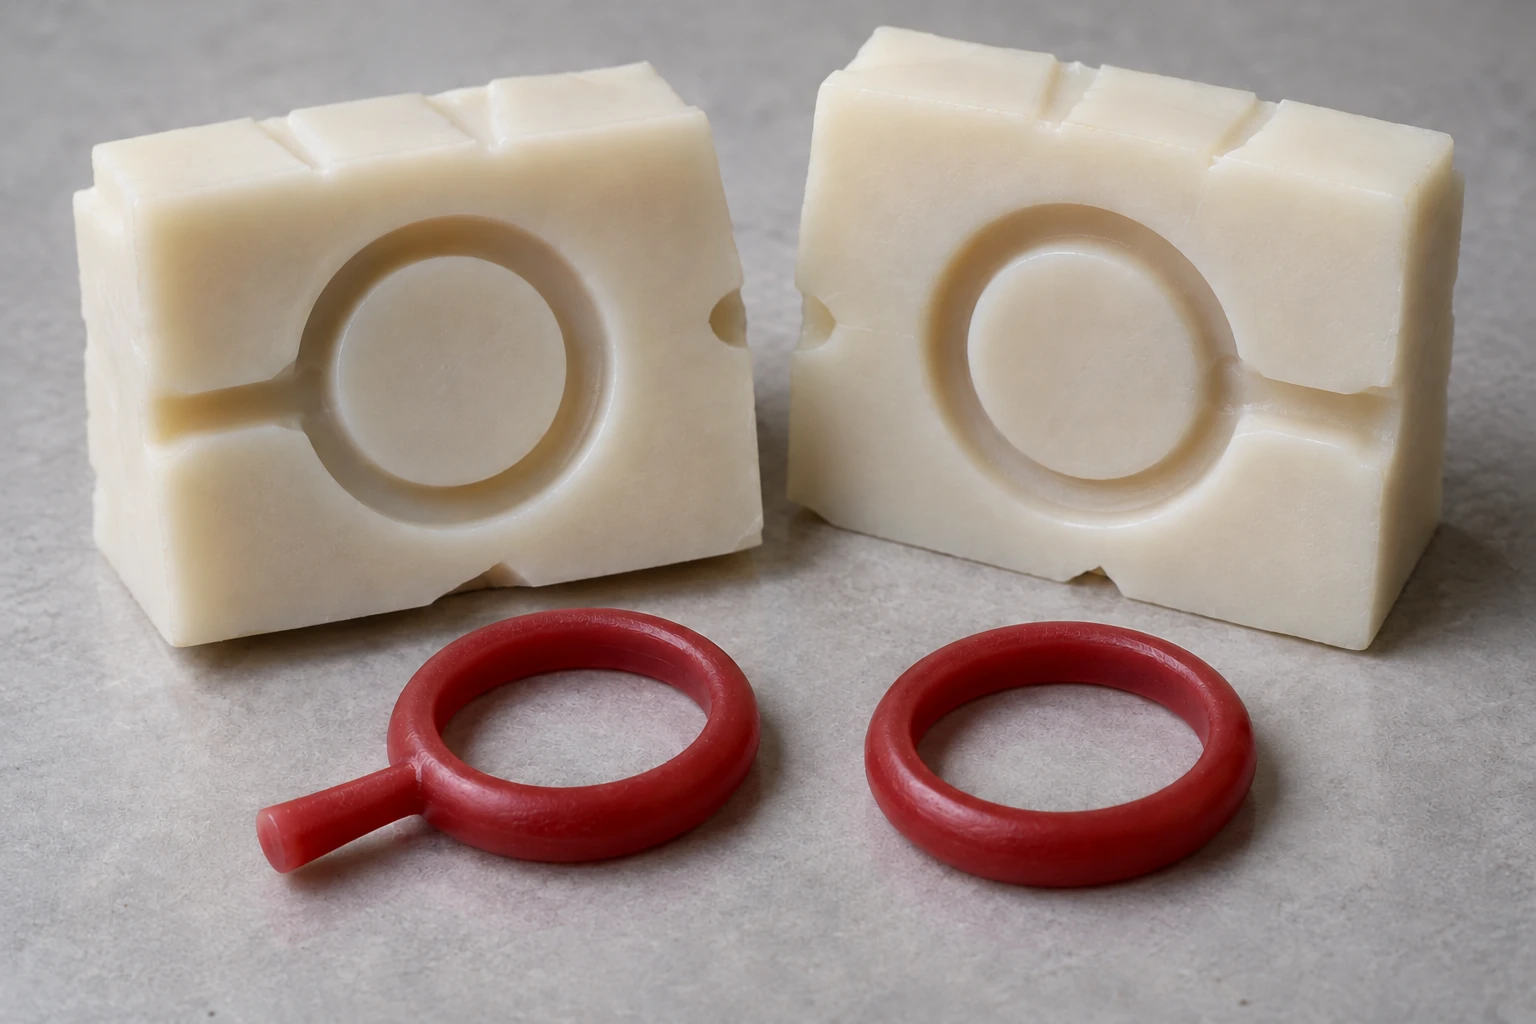
Geometry and materials affect this workload. Use samples or production records to assess damage to fine connections during demolding and the finishing needed on complex features. Freeman’s Ferris injection wax information distinguishes formulations by flexibility, detail reproduction and release behavior, showing why the injection route also needs a material matched to the geometry.
For a repeat order with an approved mold, focus on the expenditure that will still occur. Previously paid, unrecoverable tooling costs are not a new expense for this order. Inspection, repairs, necessary mold changes and current production costs still count. A damaged mold or one for an obsolete revision should be quoted according to the actual repair or replacement plan.
If the business needs long-term tooling amortization, record the expected service life and quantity separately. Incremental spending for one order and long-term full costs use different accounting boundaries. Apply the same basis to both routes and avoid counting the tooling cost twice.
4 Include processing in printing costs and lead times
Direct printing costs include file checking, build preparation, build and support wax, machine time, part removal, support removal, inspection and exceptional reprints. Do not add items already included in an outsourced quote. For internal production, explain how labor, consumables and equipment costs are allocated.
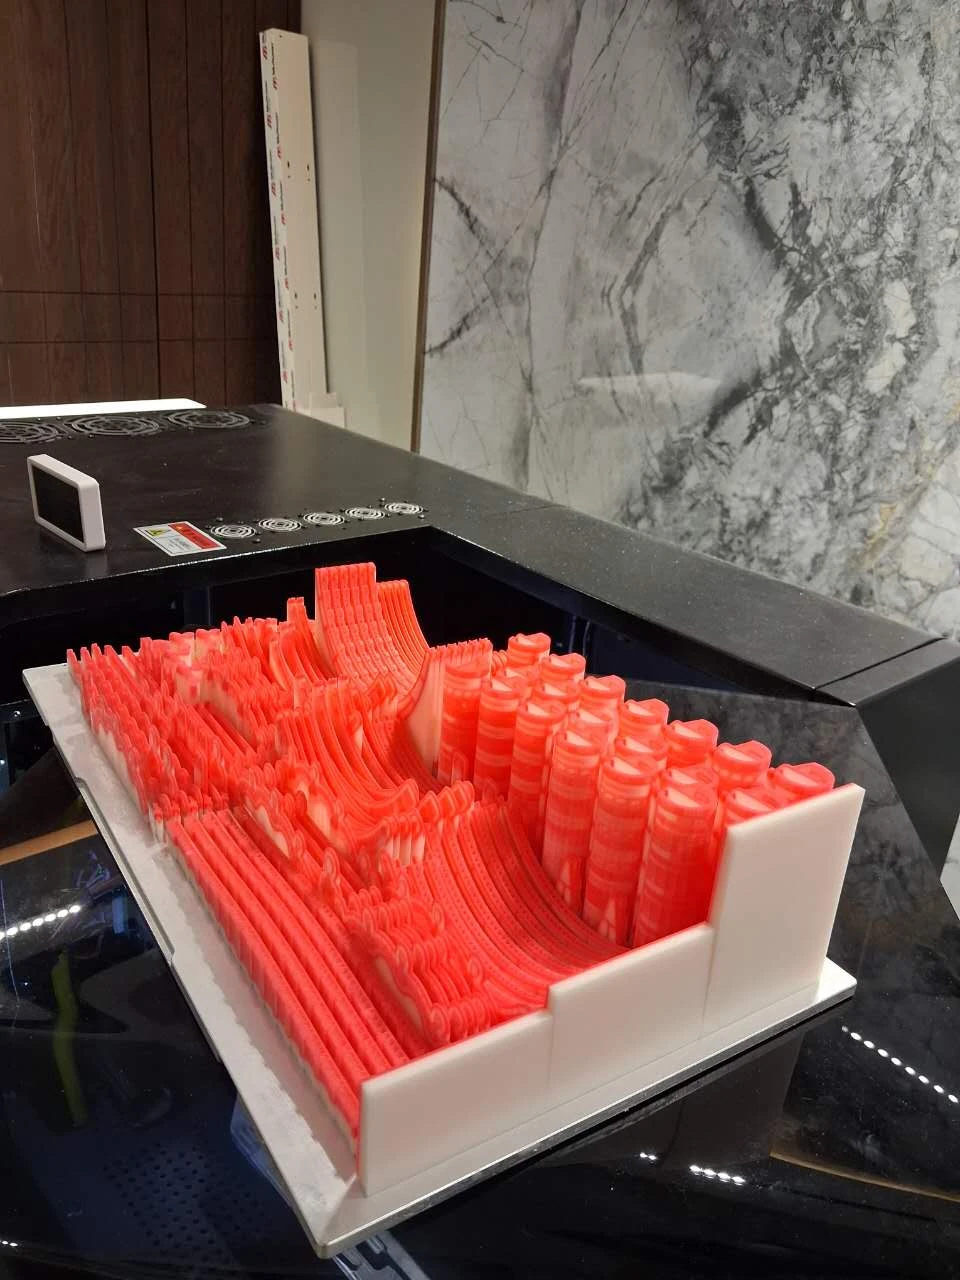
For mixed-design builds, assess layout, height and handling difficulty. Fitting more patterns on a platform still leaves design identification, cleaning and inspection to organize. Allocate the build cost between designs using the actual job and handling workload, rather than build-wax weight alone.
Accepting a batch on existing equipment and buying equipment for that business are different costing questions. Short-term scheduling concerns the additional work and available capacity. Long-term investment also needs equipment, staff and supporting resources costed at realistic utilization.
Measure lead time from complete information or the agreed order-acceptance point through queuing, preparation, manufacturing, processing, approval and transport. First batches may add mold trials or sample approval; stable repeat orders need their corresponding records. Ask both suppliers when acceptable wax models will be delivered and how revisions or remakes would affect that date.
5 Compare costs for the same delivery quantity
First agree the acceptable quantity each route must deliver, then organize costs with this conceptual equation:
Total route cost for this order = new fixed investment for the order + acceptable delivery quantity × cost per acceptable wax model + revision and coordination costs not already included.
The unit cost should cover the relevant recurring production and processing expenses. Divide their total in a representative production record by the actual quantity of acceptable models handed over. If scrap, remakes and the associated labor are already in that numerator, do not add the losses again.
| Input to complete | Wax injection | Direct wax printing |
|---|---|---|
| Approved revision and delivery quantity | Designs, sizes and the status of their molds | The same designs and sizes, with approved files |
| New fixed investment for this order | Master, mold making, mold trials or necessary mold repairs | Job-specific preparation and necessary validation |
| Recurring production and processing costs | Injection, demolding, wax finishing, inspection and related losses | Build wax, support wax, machine time, support removal, inspection and related losses |
| Basis for the acceptable-unit cost | Costs and acceptable quantity for the corresponding batch | Costs and acceptable quantity for the corresponding batch |
| Revisions and approval | Tool or master changes, revalidation and waiting | File and job changes, revalidation and waiting |
| Delivery milestone and downstream validation | Delivery date for acceptable wax models, with trial-casting scope listed separately | The same handover condition and trial-casting scope |
Check whether quotes include packaging, transport and taxes, and how prices change with quantity. If one is a tax-inclusive delivered quote and the other is an internal manufacturing cost, align the scope before comparing totals.
Estimating where two cost lines intersect is useful only when design, acceptance requirements and unit costs are sufficiently stable. If unit cost changes with batch size, layout or yield, calculate by batch or compare valid quotes for different quantities directly.
When data are limited, produce a representative sample batch and record preparation, manufacturing, processing and acceptable quantity. Keep first-run setup separate from stable repeat production, so initial learning does not become the assumed long-term cost and the best batch does not become the forecast for every order.
6 Assign established and revised designs separately
Assess each route according to order status. For stable designs with approved tooling, first cost the actual conditions of reusing the mold. For designs still changing or requiring special customization, assess direct printing. Once designs are fixed and repeat demand becomes clearer, reconsider whether replication tooling is worthwhile.
When switching routes, recheck dimensional compensation, surfaces, fine connections, wax material and downstream casting performance. A shared CAD file provides a common geometric basis; it does not replace inspection of the new patterns and necessary trial casting.
If the route is to print a master and then mold and inject wax, confirm that the printed master material suits the intended molding temperature, pressure and demolding method. A printed wax model intended for direct casting should not be assumed to withstand every mold-making process.
For a route assessment, supply the approved CAD revision, quantities by design and size, repeat-order expectations, existing mold status, and wax-model and casting acceptance requirements. Have both sides quote their scope and handover date against the same information before choosing to retain the current route, divide work by design, or switch after sample validation.
Frequently asked questions
Is direct printing always suitable for small orders?
Consider existing tooling. A small repeat order may suit injection if an approved mold exists. If several new designs each need a mold, focus on the tooling investment versus the full delivery cost of direct printing.
Does an existing mold still need a new sample?
Check the tool condition, corresponding revision and current requirements. If the design, material or tool condition has changed, approve a sample for that change. Existing validation can be reused only if it covers the current order conditions.
How should design revision costs be counted?
Ask separately about changes to files, masters or molds and the sampling and revalidation required afterward. Do not add costs again if they are already included in fixed preparation fees or unit prices.
Is validation needed when moving from a successful printed trial casting to injection?
Define validation around the route changes. If the pattern-making method, wax or dimensional compensation changes, check the new patterns and necessary trial-casting results before releasing repeat production.