
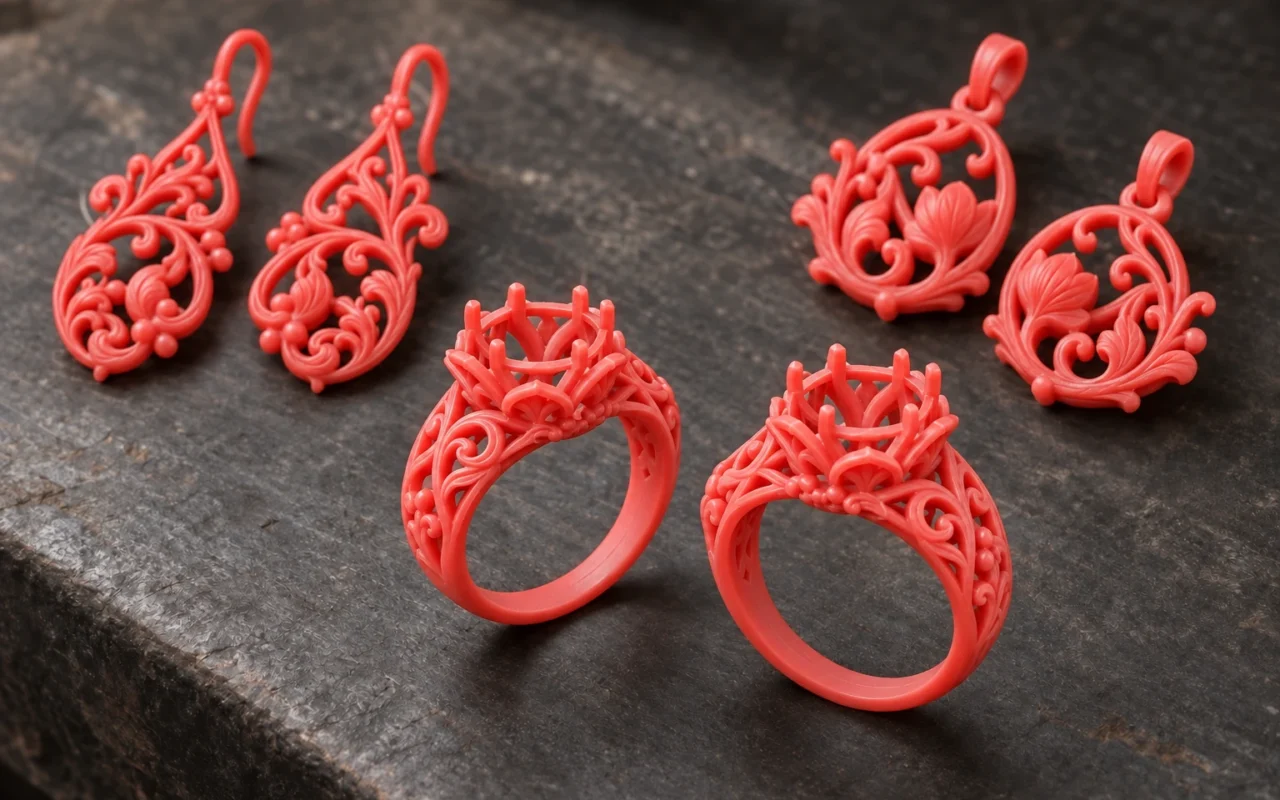
Wax-pattern quality control spans file preparation, printing, cleaning, inspection, delivery and casting feedback. A quick visual check after printing rarely explains later problems; checking only the final casting can also lose the opportunity to inspect the pattern directly.
Define the delivery condition and acceptance requirements first, then place checks at the relevant stages. The aim is to connect versions, physical models and results, so a problem leads to an informed next step without requiring excessive paperwork.
Define the Acceptance Condition at Delivery
Delivery requirements should include model or style, edition, quantity, condition, critical dimensions and appearance areas. The model with support, the model after cleaning and the model after assembly are different delivery objects and cannot be summarized by the same sentence “the wax model is qualified”.
For jewelry, the setting, ring circumference, and appearance details are related to subsequent trimming; for industrial parts, the benchmark, rough size, and machining allowance may be more important. Checklists should be project-specific and should not copy the requirements of a simple model to all parts.
GIA’s jewelry quality standards discuss quality requirements by categories such as ring circumference, trimming, and setting, reflecting that the final evaluation needs to correspond to specific characteristics and production status. When formulating wax model requirements, you can follow this idea to associate key features with subsequent uses, but you cannot directly apply the production specifications of a certain alloy to all models. GIA Jewelry Quality Benchmarks
The acceptance requirements should also clarify exception handling permissions. Which issues must be redone, which ones are allowed to be processed according to the approved method, and who confirms that the processed model can continue to circulate should be stated before the task begins.
File Release Fixes the Manufacturing Input
The starting point for quality documentation is approval documentation. There should be version correspondence between the original design, exported mesh and construction tasks, and the units, component quantities and critical dimensions need to be checked. If subsequent scaling, repair, or geometric adjustments occur, the basis for the changes should be retained.
Printing tasks should also record the actual equipment, materials and related settings used. The granularity of records should be able to support project traceability, without copying all irrelevant system information to the delivery order, but key inputs cannot be missing.
Material names and batches should come from real usage records. Material Technical Data Sheets describe product performance and test conditions and are not a substitute for inspection results of this batch of models. Safety information also has its own purpose and should not be used as proof of finished product dimensions or surface conformity.
Before submitting the task, you can check the quantity, direction, layout and identification method against the model checklist. Blocking the wrong version at this step is more reliable than guessing the version later by its appearance.
Record Critical Conditions Before and After Cleaning
The inspection after printing should focus on whether the model is complete, whether there are any obvious abnormalities in the observable area, and whether the identity of the physical object can be maintained. For details that cannot be seen in the supported state, follow-up inspection points should be noted, and all features should not be declared passed in advance.
The cleaning process may expose previously obscured areas and also involves practical work. Processing should be performed in accordance with confirmed material and equipment requirements, and records of task-related exceptions should be retained.
Post-cleaning inspections go back to delivery requirements, including vulnerable details, critical surfaces, residues and dimensions. “Enough cleaning time” cannot be used as a substitute for inspection, nor can it be assumed that all deep areas meet the requirements just because the outside is clean.
If a break was not observed before cleaning and is discovered after cleaning, the earliest period of observation should be noted. This time point alone cannot prove that the break must have occurred during cleaning. It must be judged based on visibility, operations and other records.
Match Inspection Methods to Model Features
Dimensional inspection should describe datum, location, method and model status. For soft and thin wax models, the contact and support methods need to be appropriate to avoid deforming the model for stable readings.
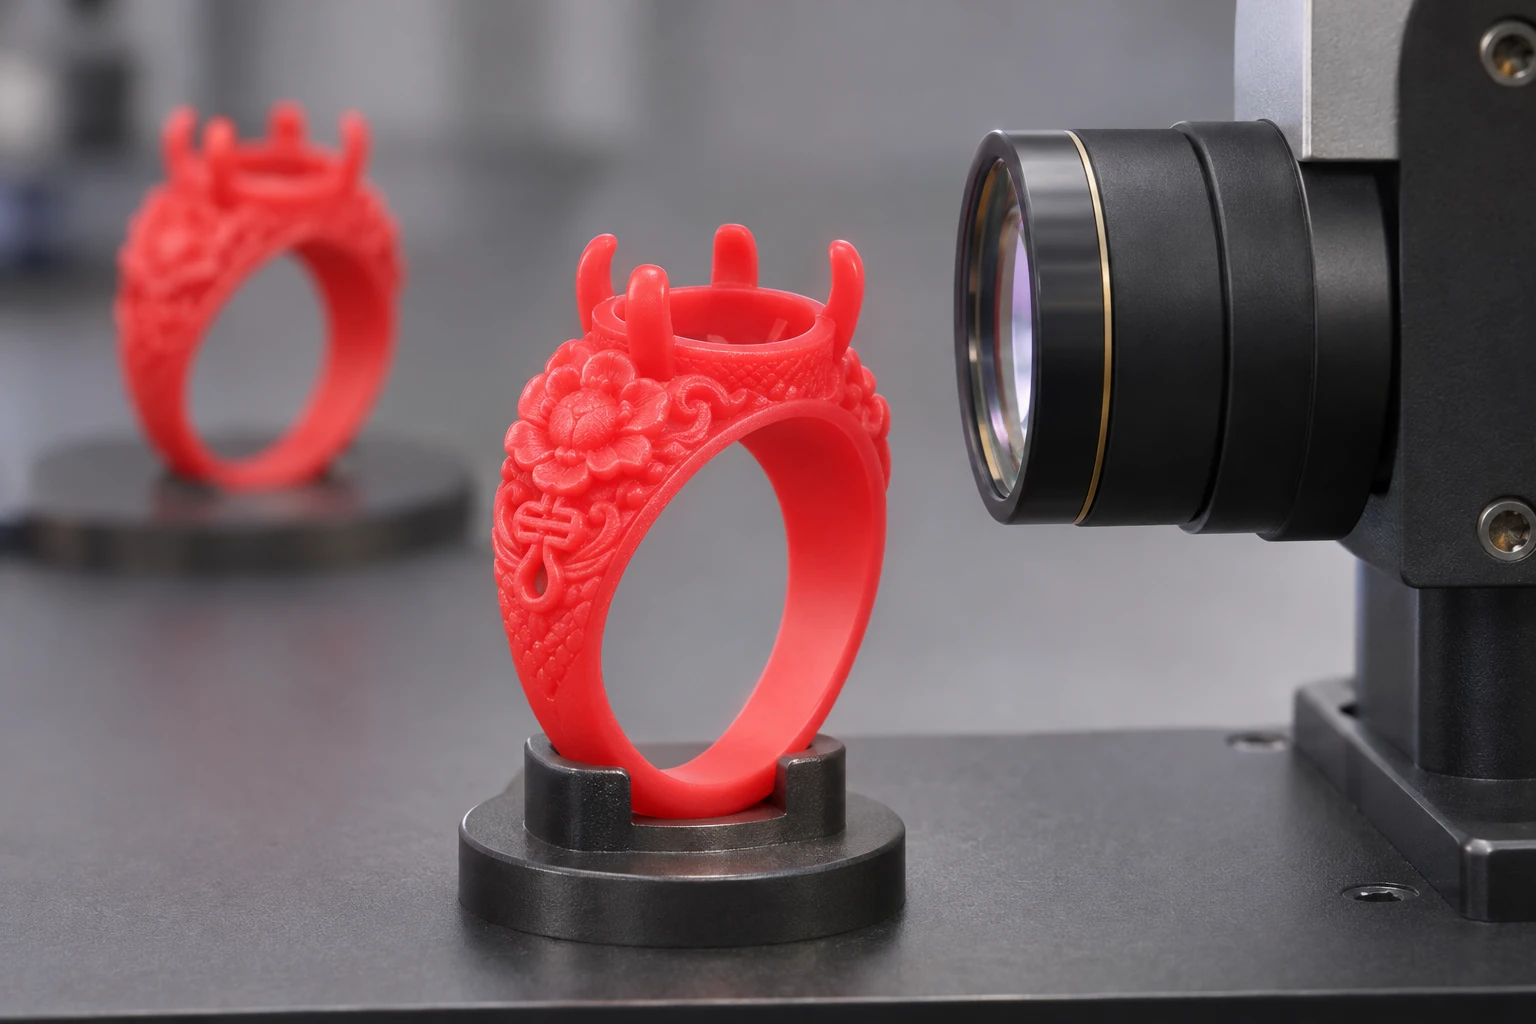
The appearance inspection can be arranged separately according to the main viewing surface, connection position, twigs, hollows and inside. Photos should be able to be returned to the corresponding number and reflect the actual scale or location. Taking just one shot of an entire batch of distant views may not support critical detail judgments.
For areas that cannot be directly observed, relevant personnel need to determine the applicable inspection or verification methods. “Can’t see” can’t be written as “no abnormality”, and you shouldn’t insert tools at will to damage the structure.
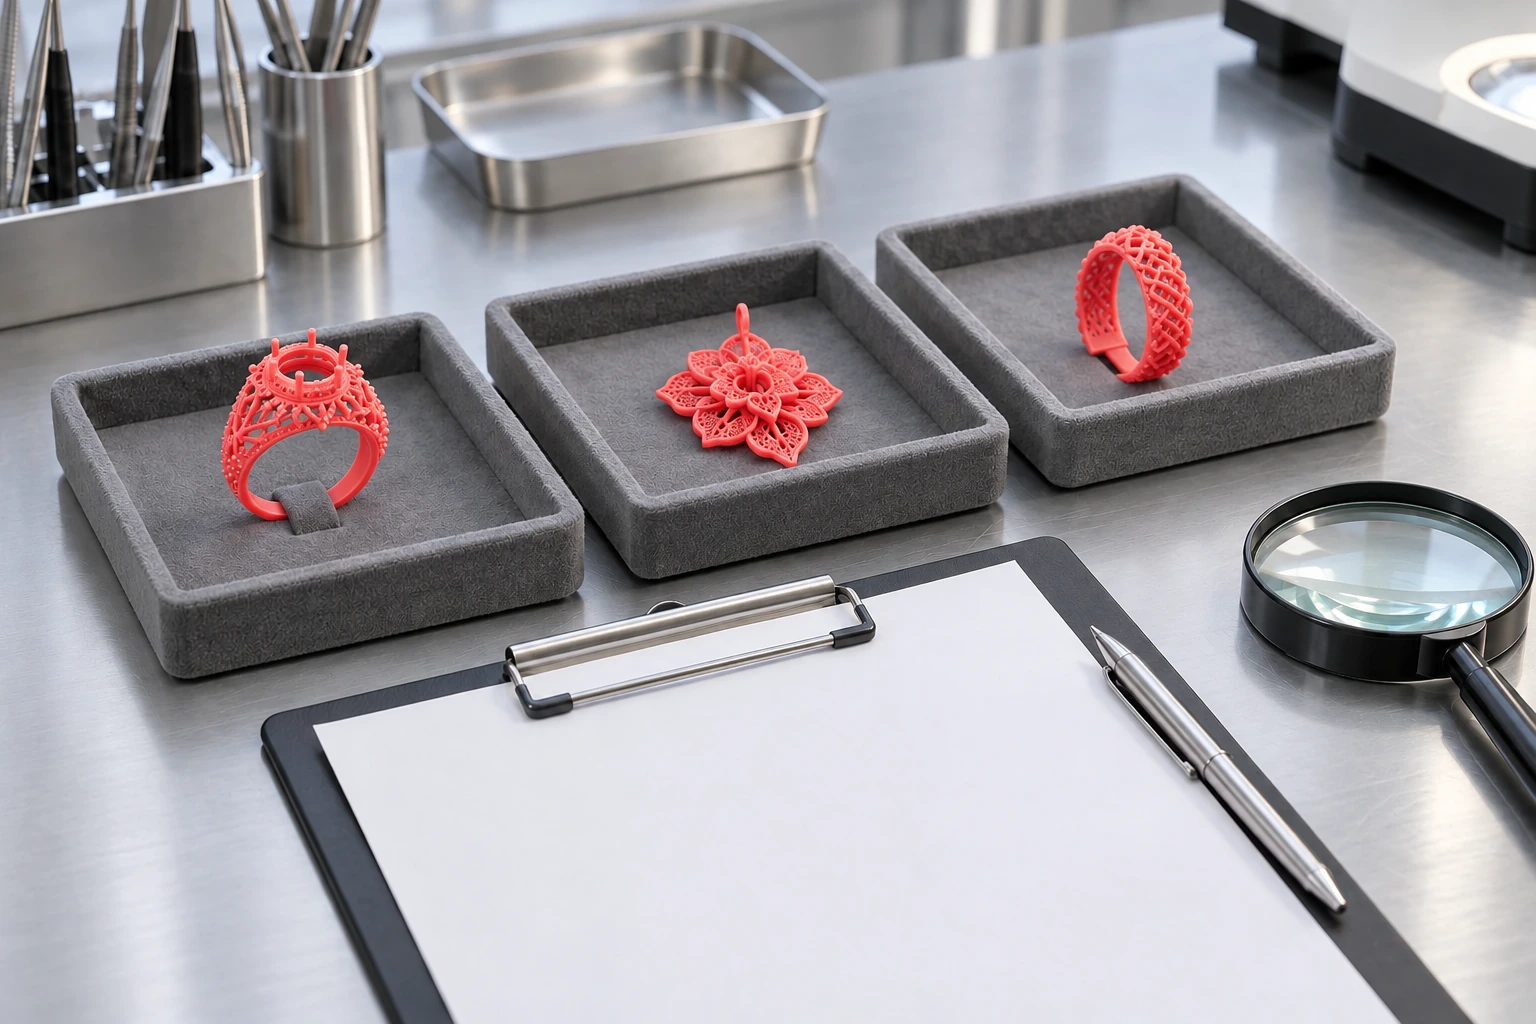
Inspection results should be classified into qualified, unqualified and pending confirmation. The pending confirmation status is not the default release. It needs to be explained who solves the problem, what basis is used for judgment, and whether a certain limited step is allowed to continue in this round.
Keep Defect Records Linked to the Physical Model
After an anomaly is discovered, isolate the affected model first and keep the number. Record the location, status, photos, and earliest observation stages of the problem, and then discuss resolution. Mixing bad parts with qualified models and waiting for unified processing can easily lead to misdelivery.
The conclusion can be redoing, repairing according to the approved method, or continuing evaluation. Processing involving critical dimensions, connections and weak points should be approved by a person with authority to confirm and re-inspected after processing.
The return record needs to indicate what was modified. You cannot just change the status from unqualified to qualified and delete the original exception. Keeping the before and after results will help determine whether a certain type of repair is suitable for continued use.
If the cause of the anomaly has not yet been determined, records should differentiate between phenomena, hypotheses, and confirmed conclusions. For example, “the thin claw is broken at a certain position” is an observation result, and “the handling contact may be related” is a hypothesis. Only after verification and support can the corresponding cause conclusion be formed.
Collect Casting Feedback After Handover
After the wax model enters the casting and metal stage, the size and surface still need to be verified later. ORNL’s investment casting dimensional study included wax patterns, shell molds, alloys and other links in the analysis, indicating that dimensional issues need to be tracked along the process; the specific materials and conclusions of this study cannot be used as unified parameters for all projects. ORNL Dimensional Transfer Research Abstract
The feedback information should preferably include the wax pattern number, tree number or location, alloy and batch corresponding to the casting, as well as abnormal parts. If you only receive feedback that “the casting is not good”, it will be difficult to arrange effective troubleshooting.
When the wax pattern stage inspection is passed and problems occur in the casting, the casting records should be analyzed together; when the wax pattern has local abnormalities, it is also necessary to check whether the subsequent results correspond to them. In the absence of corresponding evidence, all problems cannot be attributed to the printing or casting party.
A joint walkthrough can begin by selecting specific characteristics and testable hypotheses. Which conditions to change in the next round, which conditions to keep comparable, and how to check the results should be written into the trial production arrangement.
Use a Minimal Traceability Record
| record | Main content | Answered questions |
|---|---|---|
| mission identity | Style, version, quantity, equipment and materials | what is actually made |
| Feature requirements | Datums, critical dimensions, surfaces and delivery status | How to judge qualified |
| stage inspection | Pre and post cleaning, assembly and delivery inspection | When is something observed? |
| Exception handling | Location, isolation, handling and re-examination | How the problem is solved |
| downstream feedback | Corresponding number, casting batch and result | Can subsequent performance be traced? |
Log packets can be a combination of photos, forms, and task documents, so you don’t have to copy everything twice. The key is that the link or number is stable, and relevant information about the same model can still be found after another person takes over.
For frequently repeated styles, the fixed feature list and verified methods can be retained, but the identity, materials, and results of this round of tasks still need to be updated. Historical success of a stable style is not a substitute for current batch release.
Define Quantities Before Calculating Yield
If statistics on quality performance are required, the input quantity, first-time qualified quantity, qualified quantity after repair and scrapped quantity should be clearly defined. The same model after rework cannot be counted into first pass and additional output at the same time.
Waiting for confirmation, not yet inspected and delivered are also different states. The time point should be specified during statistics to avoid counting models that have not completed the inspection as qualified and then changing the caliber in the next table.
Small-scale trial production can help identify risks, but it is not appropriate to claim stable yield or process capability based on the results of a few prototypes. To establish such conclusions, corresponding sampling, measurement and statistical conditions are required.
More direct indicators for the team can also be the anomaly discovery stage, re-inspection completion time and the number of repeated problems. These records can help determine whether the checkpoint is valid, rather than just chasing a beautiful percentage.
It is recommended to keep the first inspection results and final disposal results for each piece, and the original problem records will not be overwritten after the repair is passed. At the end of the task, the input, final qualification, scrapping and the quantity still to be disposed of are reconciled, and quality changes are discussed based on clear statistical criteria.
Apply Review Findings to the Next Job
Quality control requires the formation of improvement actions. When a certain type of problem occurs repeatedly, you should check whether it involves the same file, the same feature, the same location or the same processing method, and then arrange targeted verification.
If the inspection method is modified, it should be explained what problems the new method can detect and confirm that it will not damage the model. If the process or geometry is modified, the approved version and scope of application should be recorded to avoid verbal improvement measures.
The adequacy of the records can be checked regularly by project: if a problem occurs, whether the physical object can be found, the stage is located, and the confirmer can be contacted. Fields that don’t answer these questions deserve adjustment; duplication that doesn’t help can be simplified.
Trace One Defect Through the Record
If a twig is found to be missing after cleaning, first isolate the piece and record the number, location and photo, and then check the observable status before cleaning. If the area was originally obscured by supports, it should be noted that the stage of occurrence cannot be confirmed based on photos alone.
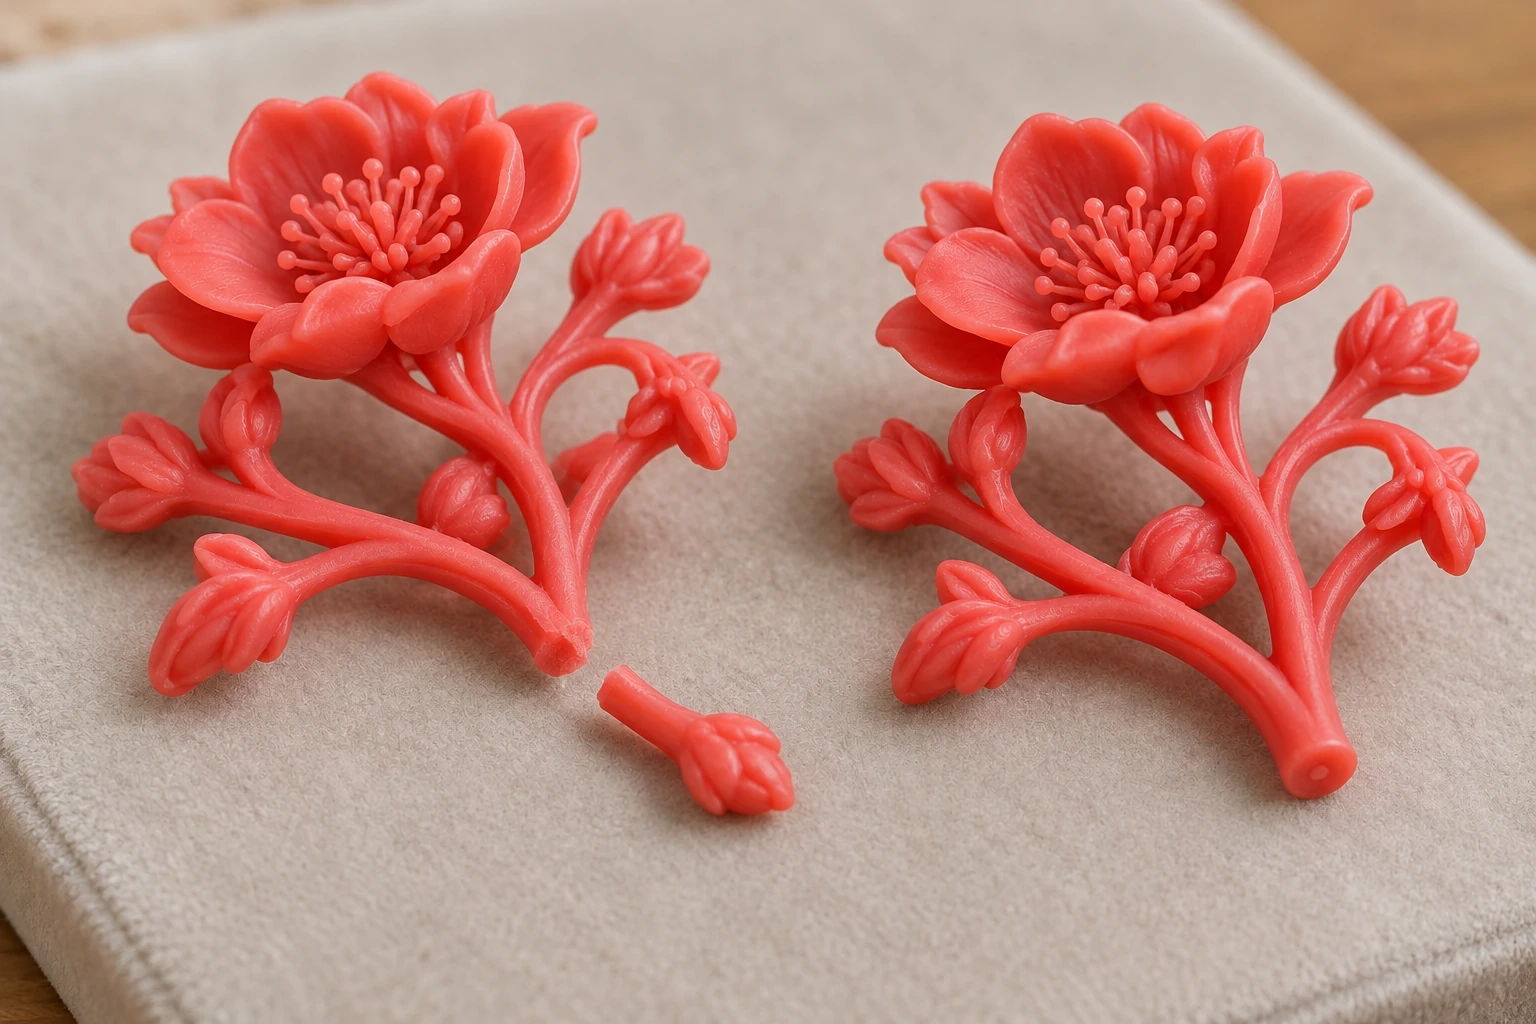
Then check other models and task locations of the same model, and organize processing and pick-and-place records. Relevant personnel put forward hypotheses based on the evidence and decided to redo or handle according to the approved method. When adjusting the pick-and-place or layout in the next round, record the changes and corresponding models.
After rechecking, connect the results to the original ticket: which phenomena were solved, which causes remain unidentified, and what structures the new solution is applicable to. Qualified models are clearly cleared, and no conclusion will be written if the reason is not confirmed.
If the same area problem occurs again in subsequent castings, the corresponding number should be checked back and the investigation should continue along the stages. The two phenomena cannot be directly combined into the same proven cause.
Frequently Asked Questions
Does a Passing Material Report Guarantee a Passing Model?
Material reports provide information on specific samples and conditions, and models need to be checked against actual version, construction and delivery requirements. The two types of evidence answer different questions.
Do More Quality Records Always Mean Better Control?
Priority should be given to ensuring that records are authentic, have clear correspondence and support judgment. A small number of key records that are complete are more valuable than a large amount of content that cannot find the relationship between versions and models.