

Designing jewelry wax models for manufacturability means preserving the design intent while checking whether the model can pass through printing, cleaning, tree assembly, casting and finishing. A detail that can be modeled on screen or reproduced in wax is not automatically suitable for the entire process.
Start with the required condition of the finished jewelry, then work backward to the features each stage must preserve and the adjustments it may allow. Thickness, connections and allowances can then be discussed without turning manufacturing convenience into an unapproved design change.
Define the Finished Jewelry Requirements
Appearance, wearing contact, inlay, assembly and size are different requirements. Designers should indicate the main viewing surfaces, surfaces that need to be touched, the location of gemstones and connecting functions, rather than just providing a beautiful rendering.
GIA’s jewelry CAD/CAM courses combine design proportions with preparation for manufacturing. For production models, digital modeling needs to express both style and production-related structural requirements. GIA Jewelry CAD/CAM Course
For setting styles, the actual stone or approved matching stone conditions should be stated. If the size of the insert in the model comes from tentative information, it should be limited to the current round of use, and the wax pattern trial production results cannot be regarded as a final assembly guarantee.
The ring circumference also needs to correspond to the measurement system and method. The wearing experience, subsequent trimming and final acceptance of different inner ring shapes should not be handed over with just one name or number. Key requirements are best expressed in a combination of dimensional drawings, partial views and text descriptions.
Trace Delicate Features Through Every Operation
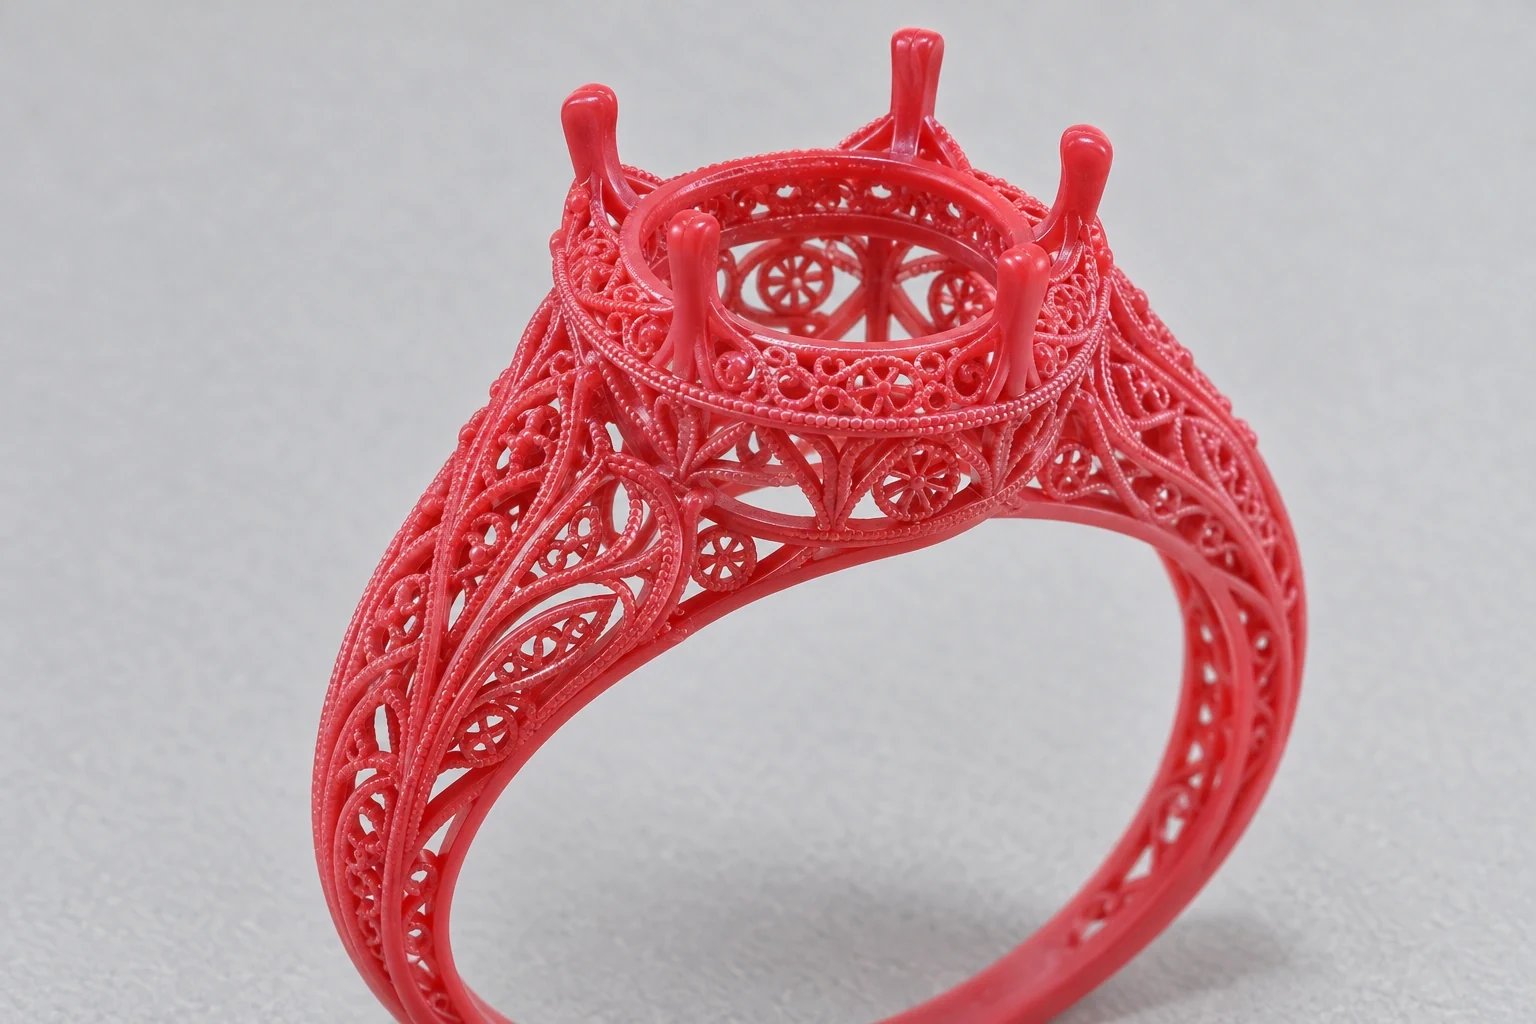
Long, slender branch decorations, tips, narrow bridges and overhanging claws require attention not only to minimum thickness, but also to length, direction, connection form and practical operation. Short blocks and long poles of the same thickness bear different handling conditions.
When printing, check that its posture and support arrangements are appropriate for the geometry. When cleaning, check that operators can access secondary materials without exerting force on weak features. When assembling the tree, make sure that the connection and holding areas do not rely on the most vulnerable parts.
For a pendant with twig decoration, you can first mark the outline that must be retained, and then discuss the connection of the roots, placement and cleaning paths. If the craftsman recommends adding local connections, the designer should judge whether it changes the visual relationship. All details cannot be automatically bolded.
There is no uniform thickness that guarantees all styles will pass the entire process. Materials, orientation, support, structure and subsequent processes all influence the result. When verification is needed, features that represent risks should be selected instead of using a simple and thick sample to prove that there is no problem with a complex style.
Allow Access for Cleaning and Inspection
Hollow outs, deep grooves and decorative parts close to each other need to confirm the support processing and inspection methods. Just because the space appears to exist does not mean that the tools or processes can be reached safely, nor does it mean that the local state can be clearly seen after completion.

Design reviews can be examined from a practical operational perspective. Which side enters, which part needs to be observed, where the model is placed, and what parts are supported during operation can all be explained on the partial view. If these problems can only be solved temporarily after getting the wax model, trial production will be easy to repeat.
For details that are not suitable for contact, other agreed inspection methods should be considered. Areas that cannot be directly observed require process evaluation, rather than blanket cancellation or no residue by default. Its release conditions should match the real process.
Temporary auxiliary structures can be discussed as options, but the purpose and phase of removal should be indicated. Whether to keep it in the group tree or remove it after cleaning will be confirmed by relevant personnel. It cannot be used as a final jewelry structure simply because it aids in printing, nor can it serve as a sprue without evaluation.
When further discussion of narrow bridges, thin bars, and enclosed areas is required, the specific structure can be examined in conjunction with Design and Cleaning Inspection of Hollow Jewelry.
Consider Casting Connections Alongside Finishing
The sprue connection position affects how the model is assembled and also affects the subsequent cutting and trimming of the casting. The appearance surface, inlaid area, mating parts and the inner side that are difficult to process that need to be protected should be explained to the casting personnel in advance.
Formlabs’ Jewelry Model Casting Guide discusses preparation matters such as sprues and model connections. It is specific to a specific resin system, and the specific parameters cannot be used for all wax patterns; as a reference in project reviews, printed structures and cast connections need to be confirmed separately. Jewelry Model Casting Preparation Guide
If the joint is located in a groove, the accessibility of the resection tool and subsequent surface treatment should also be discussed. Just hiding the connection on the back won’t necessarily make trimming easier. The areas of the finished product that cannot be seen may also bear the function of wearing, contacting or assembling.
Likewise, complex cavities in models cannot be judged solely by printability. The feasibility of mold formation, dewaxing, pouring and subsequent cleaning needs to be evaluated by the foundry personnel. If necessary, the structure, subassembly or manufacturing route will be re-discussed and approved by the designer.
Include Polishing and Stone Setting in Model Review
The surface details of the printed wax model will continue to undergo casting and trimming. The design should indicate which patterns need to be preserved, which faces are allowed to be processed, and which edges are most sensitive to the final appearance.
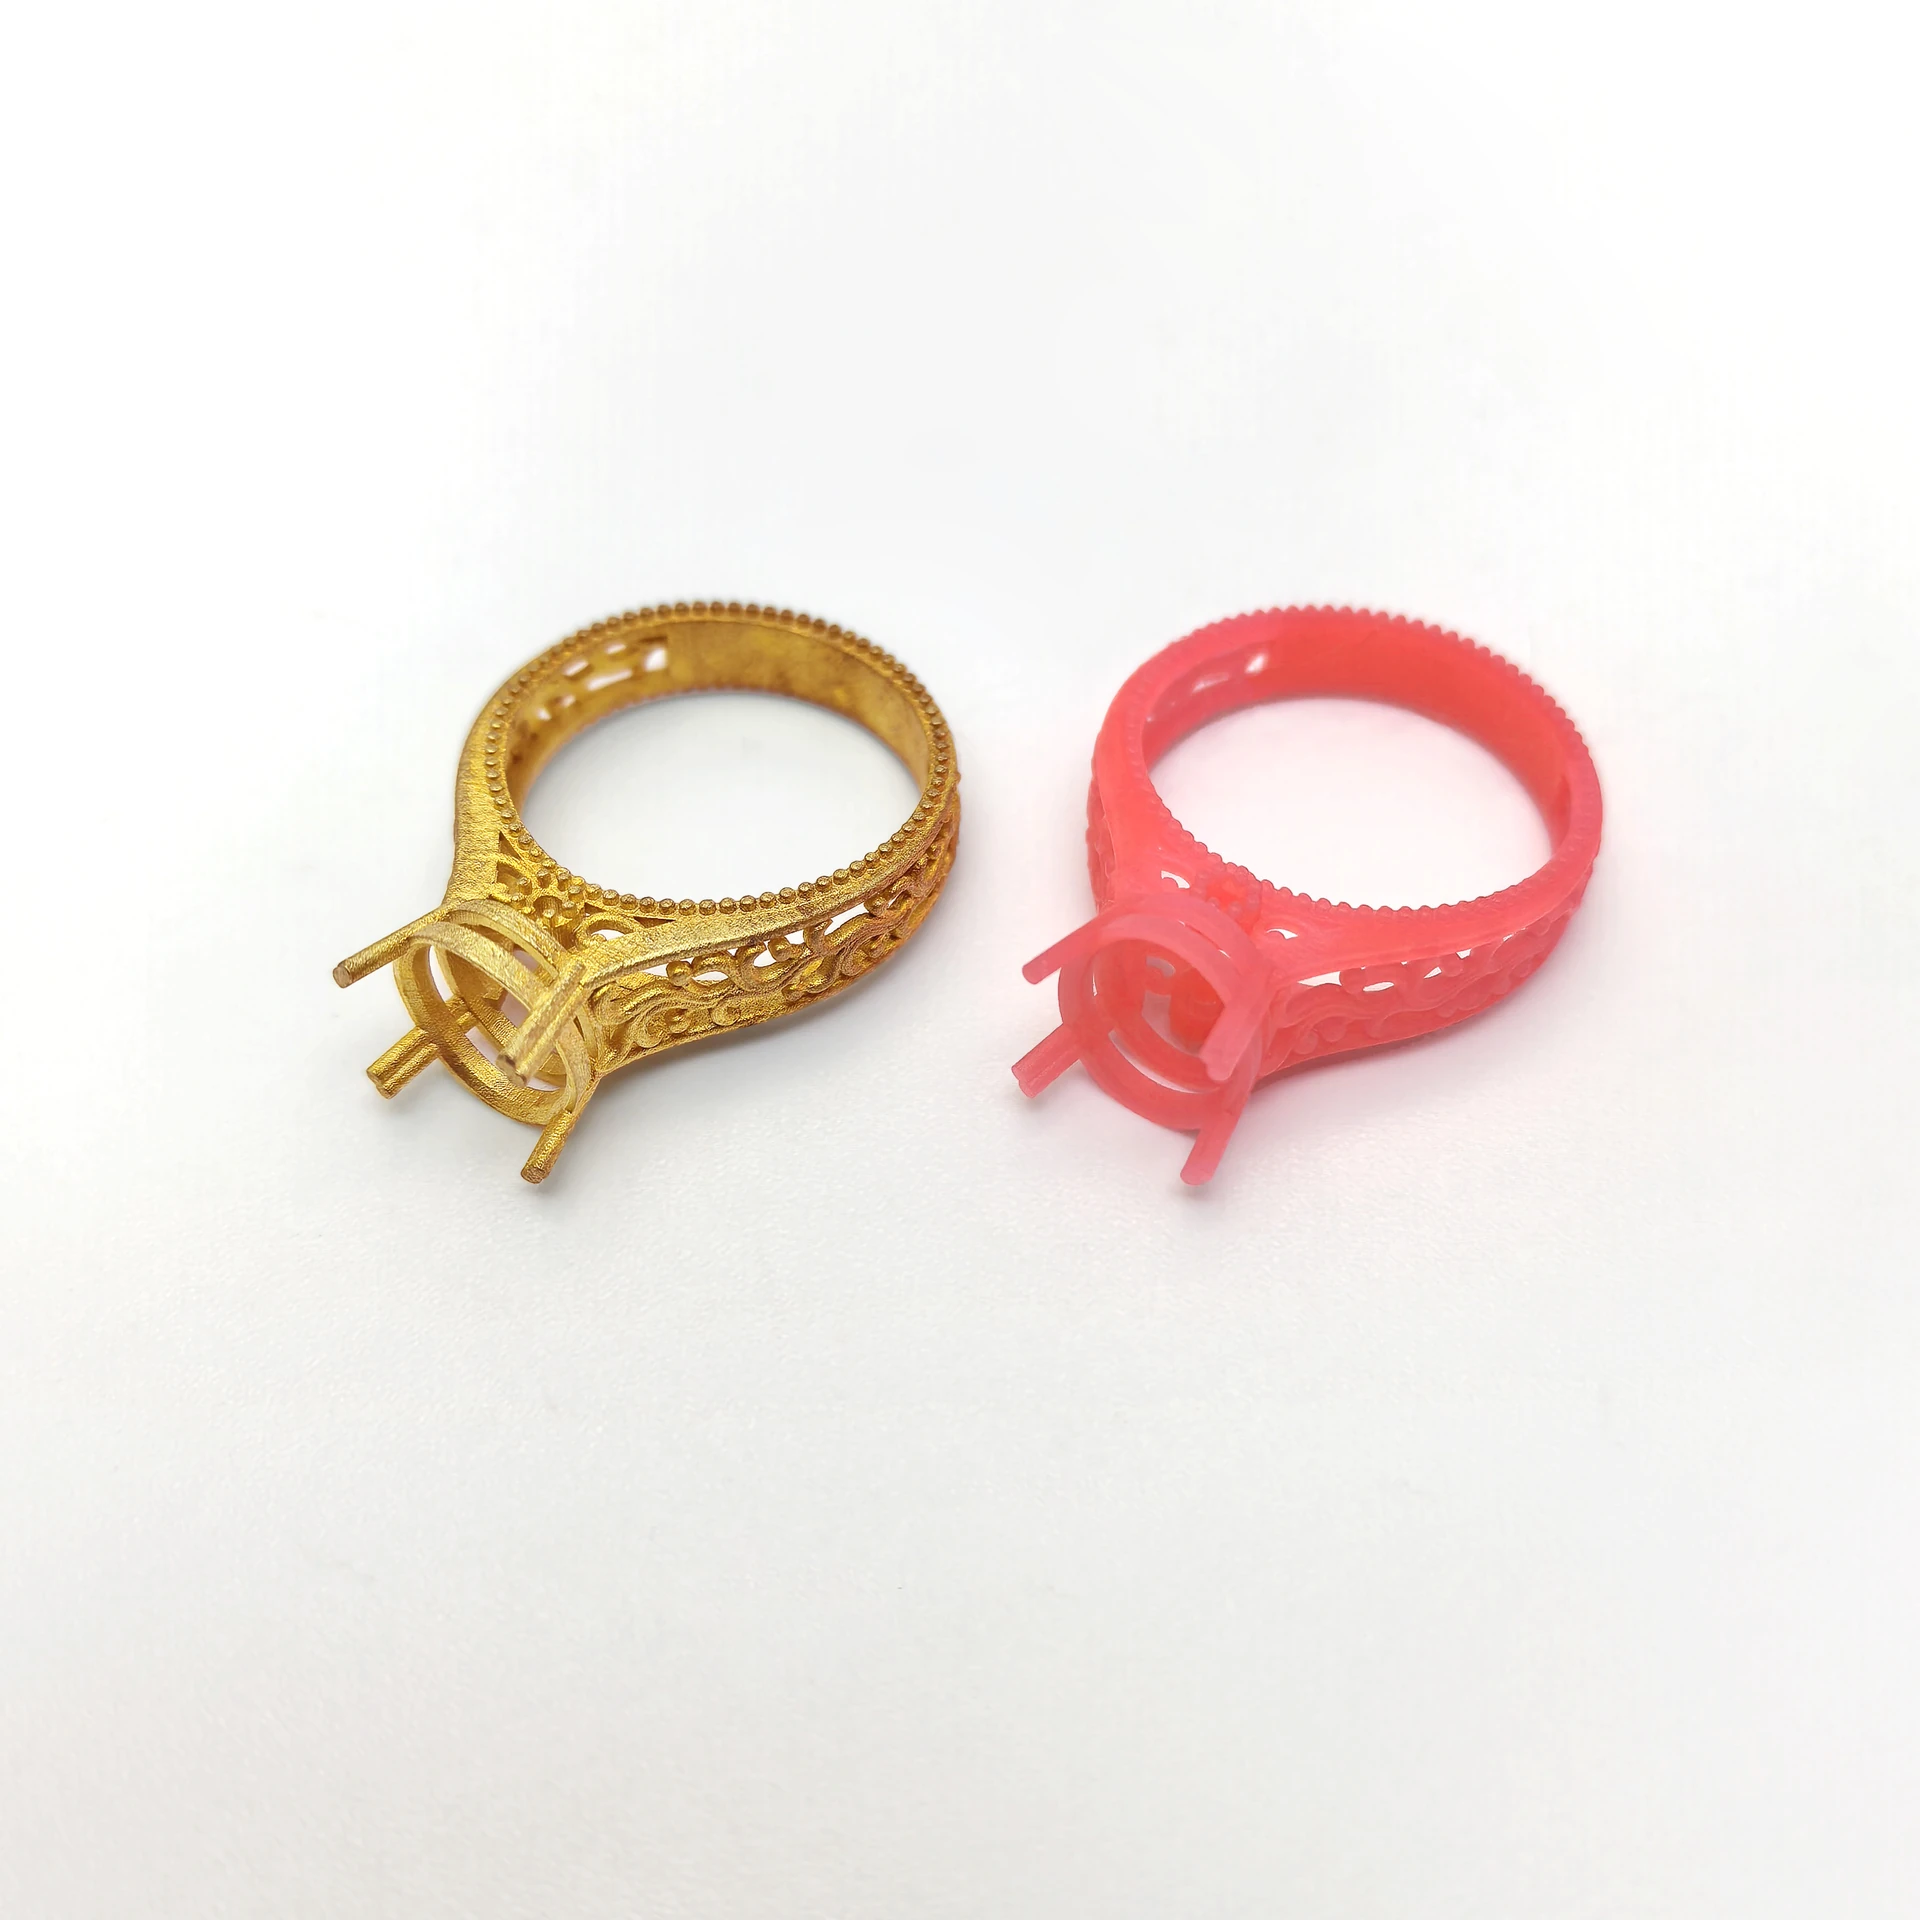
GIA’s quality benchmarks classify ring circumferences, surface finishes, and settings into separate categories, and discuss quality requirements in terms of specific jewelry materials and workmanship. What can be used here as a framework for judging is that final quality involves multiple stages of production and cannot just be based on the printed surface. GIA Jewelry Quality Benchmarks
For example, a ring with light lettering needs to specify the appearance goals of the lettering shape and depth. If subsequent processing will involve this area, you should discuss with the production staff how to verify the final retention of the text. Clear text in a digital rendering cannot be relied upon to directly promise that the finished metal product will be equally clear.
The setting mouth and claws should also distinguish between the cast geometry and the final setting state. Whether there is any trimming allowance and where adjustments are allowed should be confirmed by the design and subsequent production personnel. Writing all margins and compensation as “model amplification” will make the purpose of the adjustment unclear.
Review the Design in Four Stages
| stage | Main questions | People involved in the confirmation | Suitable evidence to leave behind |
|---|---|---|---|
| digital model | Are styles, sizes, components and document expressions consistent? | Design and documentation staff | Original manuscript, feature map, export verification |
| Print and clean | Are details formable, processable, and inspectable? | Printing and post-processing staff | Task arrangements, photos of key locations |
| Casting preparation | Are connections, molds and related structures feasible? | Design and Casting Staff | Approval of plans and trial production records |
| final production | Whether it meets the target after trimming, inlaying and assembly | Subsequent production and acceptance personnel | Finished product inspection and corresponding feature results |
Each review conclusion should be written as “passed”, “needs modification” or “needs verification”, and the scope should be indicated. Passing one bead does not mean that other bezels of different shapes are also verified. When modifying a connection, you should also check whether it affects adjacent details.
The responsible persons in the evaluation form do not all need to be from the same company. The key is that the judgments they bear are clear. The printing party provides model manufacturing information, the casting party confirms the corresponding process, the designer approves the geometric changes, and the final acceptance party defines the finished product requirements.
Design Trials to Answer Specific Questions
First-run prototypes can be organized around the most sensitive features. For example, if you want to verify whether the twigs are complete after cleaning this round, you should record the specific location, task conditions, status after cleaning, and inspection method. To verify the final effect of the text, the corresponding features should be traced after metal trimming.
Writing down the passing conditions before trial production can avoid temporary changes in standards after the results come out. “Looking good” can be used as a discussion of appearance, but it is no substitute for an inspection of critical dimensions and functional requirements.
When multiple factors are changed, all changes should be recorded. If a controlled trial is used to facilitate judgment, other conditions should be made comparable as much as possible. Do not simply attribute the results of different styles, different materials and different processing conditions to changes in thickness.
After verification, conclusions should be returned to the model version. Approved changes will be entered into the new version, and unresolved issues will be retained for subsequent verification arrangements. A local feature that has been successfully trial-produced will only have reuse value when the applicable conditions are clear.
Key features can be divided into three categories before trial production: appearance and functions that must be retained, structural adjustments that allow discussion, and details that require physical verification. Each adjustment is confirmed against these three categories of requirements, so the printer can make specific suggestions for modifications, and the designer can judge whether the modifications still meet the style intent.
How a Local Change Affects the Whole Piece
Taking a style that needs to increase the ring circumference as an example, after modifying the inner ring, you should also check the appearance proportions, setting position, text and connection area. Just because the software is capable of scaling does not mean that these features will change as designed.
If you decide to adjust only part of the ring, the adjusted area and control requirements should be recorded; if the entire ring is modified, the relevant dimensions of the gemstone need to be rechecked. For styles with repeated patterns, also observe whether the pattern spacing and local connections have changed.
This type of review does not require each small change to turn into a large project, but it does need to focus on the features involved in the change. Clarifying the scope of the inspection can better explain the results of this round of preparation than using the old sentence “done it before”.
Trace a Stone Setting Through Production
Assuming that a pendant uses actual gemstones, first confirm the relevant dimensions and design goals of the gemstones, and then check whether the setting is correctly expressed in the CAD and exported mesh. Printers evaluate peripheral jaw formation, cleaning and inspection, and casters confirm connections and mold arrangements.
After the model is completed, the key features of this stage are inspected; at the metal stage, the as-cast condition and trimming are evaluated according to the approval requirements. Final mounting is confirmed by the appropriate fabricator and one wax pattern photo should not be allowed to bear the entire conclusion.
If trimming conditions need to be left somewhere, the purpose and confirmer should be clearly stated; if this round is just to verify the appearance, do not announce the completion of inlay verification in advance. Any changes should be rolled back to the corresponding version and checked to see if they affect adjacent details.
This sequence is used for organizational communication, and actual requirements are determined by project personnel. The key point is that each feature has a clear goal at each stage, and suggestions and approvals are recorded separately to avoid process convenience from quietly changing the design intent.
Frequently Asked Questions
Can One Fixed Set of Dimensions Guarantee Manufacturability?
Project requirements should be established based on actual materials, structures and overall process conditions. A single thickness or spacing can only express part of the geometry and cannot guarantee all operations and final quality.
May Hollow Areas Be Filled or Prongs Thickened Just to Ease Printing?
The designer needs to confirm and check the impact on appearance, inlay and subsequent production. Manufacturing suggestions may be made, but changes in design intent should leave a record of approval and versioning.