
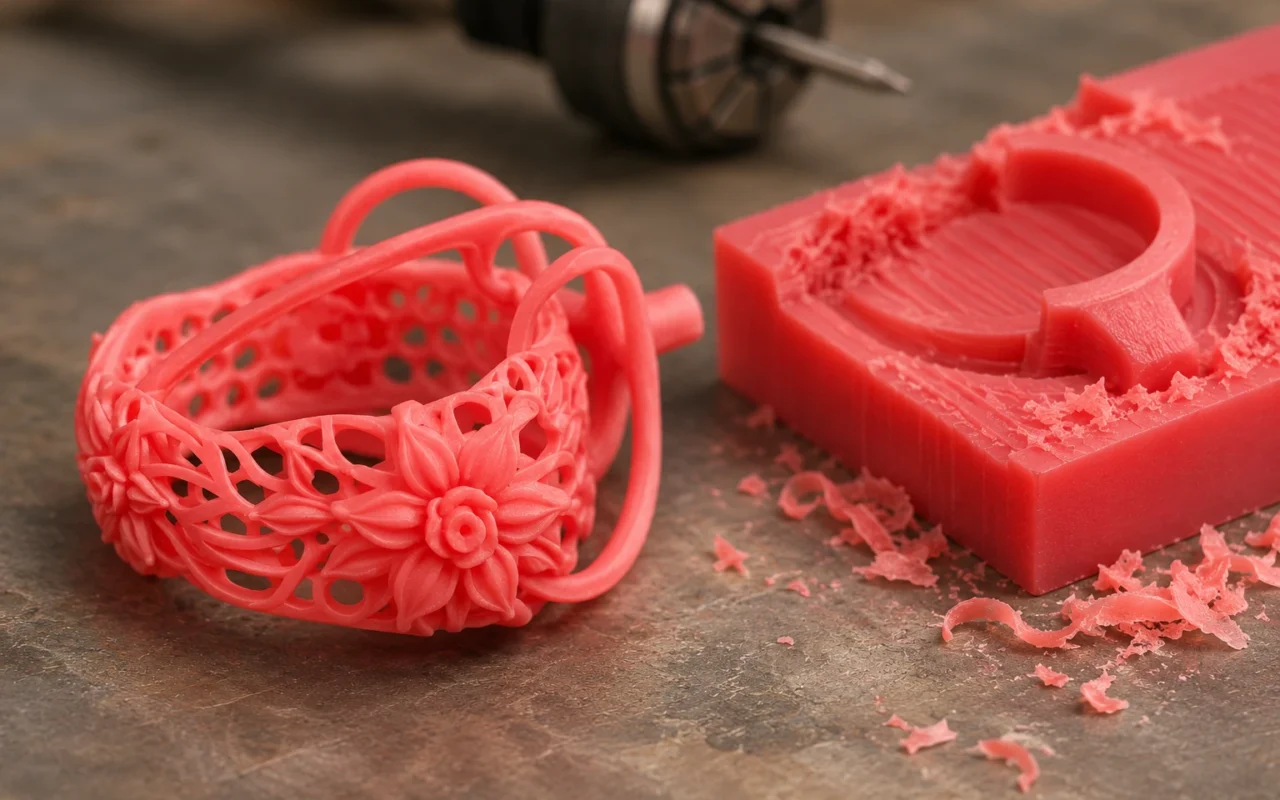
How the two digital wax-making routes divide the work
Choose wax 3D printing for jewelry with interwoven filigree, deep recesses or undercuts, and for orders that frequently combine many designs in small quantities. It reduces the constraints imposed by cutter access and setting up each design separately. CNC wax milling remains a practical route for open, accessible designs with established programs, fixtures and repeat demand.
CNC milling removes material from wax stock. Wax jetting deposits material layer by layer and produces a casting model after support removal. Both feed into lost-wax casting, but they handle complex geometry and batches differently. This article covers direct wax jetting; resin is discussed in the comparison of wax jetting and castable resin.
For complex designs, wax jetting reduces the need to design around a cutter
A milling cutter must reach a surface from an available direction. Broad surfaces, open grooves and regular ring shanks lend themselves to toolpath planning. Narrow recesses, rear undercuts and interlaced lines add changes of orientation, tools or separate components. The more a design depends on these details, the more work is involved in splitting it for machining.
Wax jetting builds the shape in layers without requiring a cutting tool to enter each recess. It is therefore well suited to preserving complex designs as complete models. For filigree, openwork and layered decoration, designers can concentrate on connections, thickness and form. Support removal takes place after printing, a different task from repeatedly changing machining access directions.
CNC can also produce complex designs by dividing them. Roland DG’s hollow-ring case uses separately milled sections that are cast and joined. Splitting extends what milling can make; when it becomes routine, the value of printing an integrated wax model becomes clearer.
Surface quality depends on where the texture remains
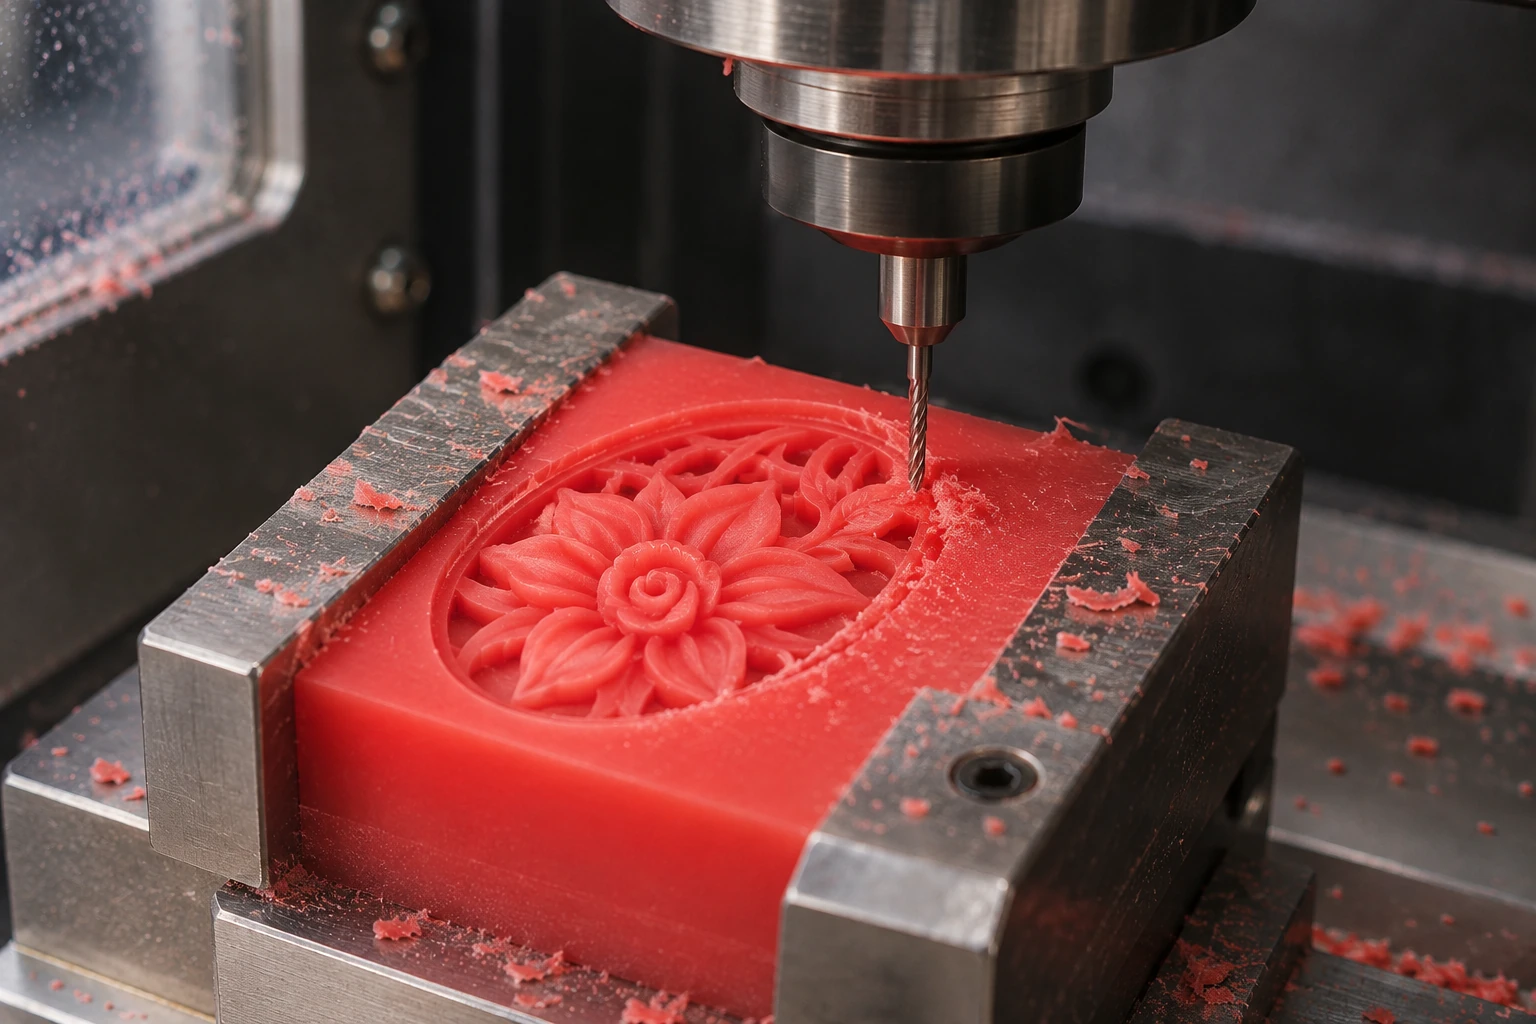
Milled surface texture comes mainly from cutter geometry, toolpaths and stepover. Accessible curved surfaces can receive an orderly finish through suitable machining. Inaccessible internal corners, narrow slots and rear details are more likely to require splitting or handwork.
A jetted wax surface reflects layer thickness, orientation and material formation, with some areas also undergoing support removal. Its advantage is producing complex detail as a complete model, reducing the need to restore design relationships across separate pieces. Finishing should protect fine lines, sharp edges and stone settings rather than polishing decorative detail away.
Post-casting polishing still has its own role. Solidscape’s Jenny Wu jewelry case combines wax printing, casting and hand polishing. In production, place broad finishing surfaces where they are accessible and use the forming process to retain fine structures, reducing repeated work in narrow spaces.
Many designs in small quantities are easier to organize together in printing
A new milled design needs programming, tool selection, machining directions and workholding. As the number of designs grows, preparation becomes a series of separate tasks. Even if a simple model mills quickly, the order may spend much of its time on design changes, setups and local finishing.
Wax jetting can group models of similar height and processing requirements into one job, followed by coordinated support removal and inspection. For custom jewelers, development teams and factories handling mixed orders, this organization matters more than machine time for one isolated model.
For example, rings that vary only in size, local decoration or settings can be output as several versions once the digital models are confirmed. Independent new designs can also share a job. The overview of casting wax model production methods explains how direct models differ from master models and injection-based production.
Keep milling straightforward repeat designs with an established process
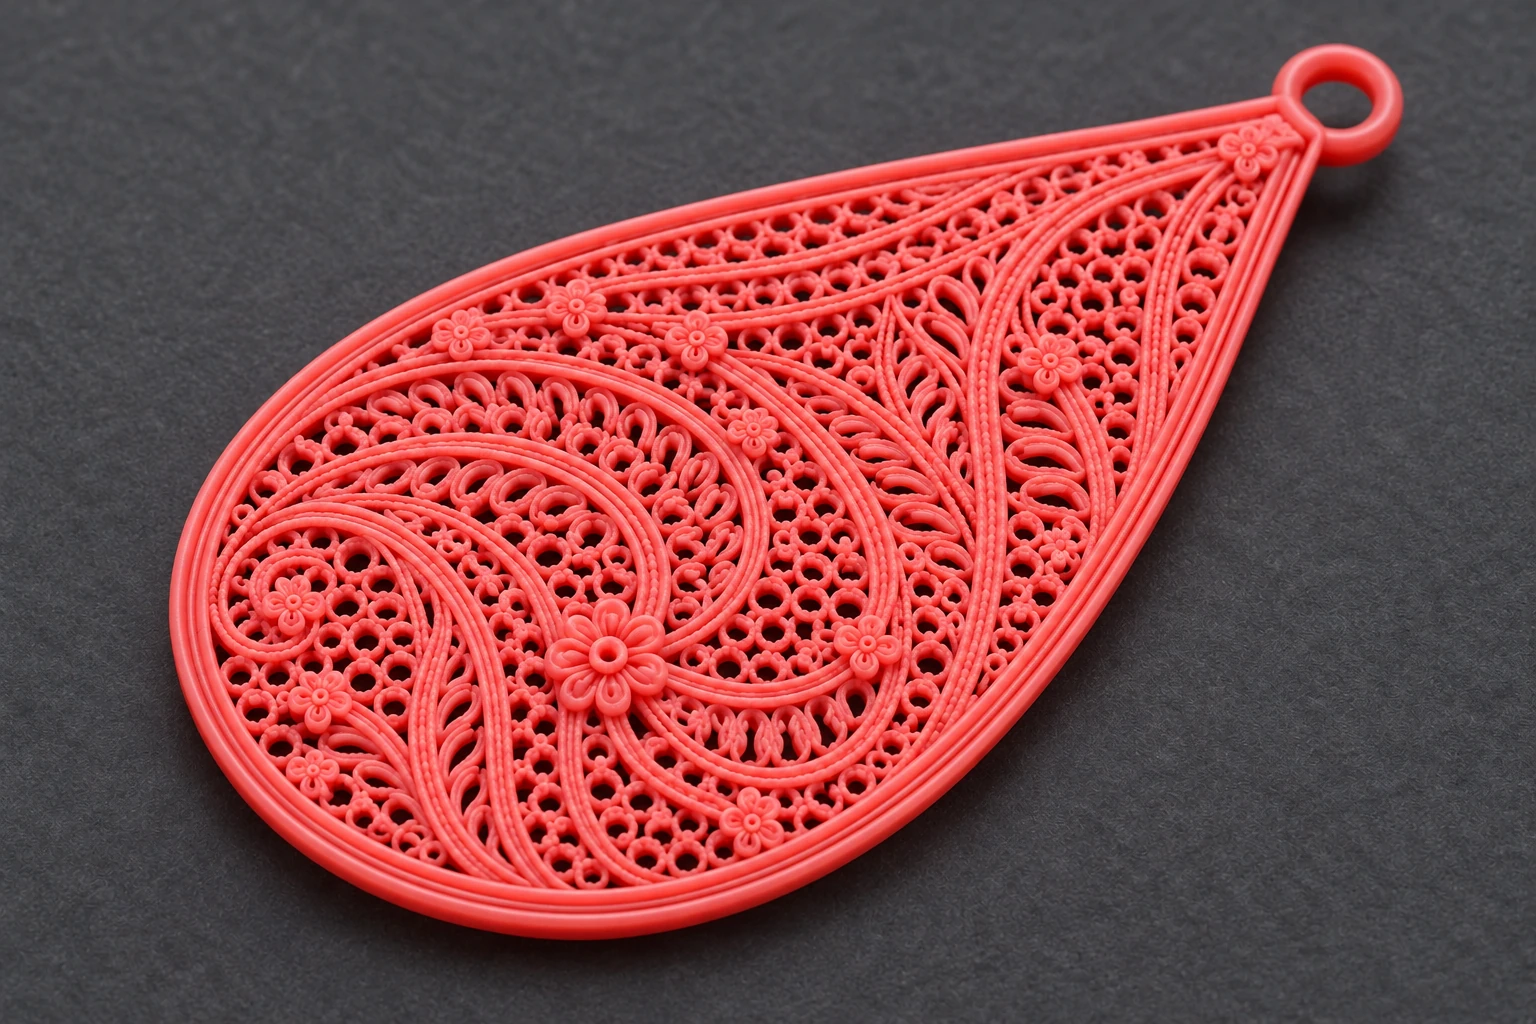
The strongest case for retaining CNC is an open design with stable programs and fixtures and regular repeat orders. Data preparation is already complete, operators know the sequence, and existing equipment and experience can be used directly. New-design programming should not be charged again to every repeat run.
This is the main qualification to the recommendation: wax jetting suits complex designs and frequent design changes; mature milling suits stable, accessible repeat designs. A factory can allocate work to both without changing every product merely to standardize its equipment.
| Design or order | Preferred route | Practical benefit |
|---|---|---|
| Interwoven filigree, undercuts and deep narrow features | Wax 3D printing | Fewer cutter-access and splitting constraints |
| Many designs in small quantities, frequent size or decoration changes | Wax 3D printing | Shared nesting and less design-by-design programming and setup |
| Accessible curves and simple regular forms | CNC wax milling is a direct option | Clear toolpaths and accessible finishing areas |
| Repeat designs with proven programs and fixtures | Continue using CNC wax milling | Reuse established methods and equipment |
Match equipment capability to everyday orders
To add capacity for complex designs and simultaneous production of different models, the 3H-420 Plus wax 3D printer converts digital models into casting wax models. Equipment selection should reflect the designs you commonly make, batch nesting and post-processing organization, rather than a single easy demonstration piece.
Bring representative designs and order combinations to the Cprint 3D team to discuss printer configuration. The comparison ends with a complete batch of models ready for casting: the route that reduces splitting, setup changes and restoration of fine detail is the better fit for that order.