
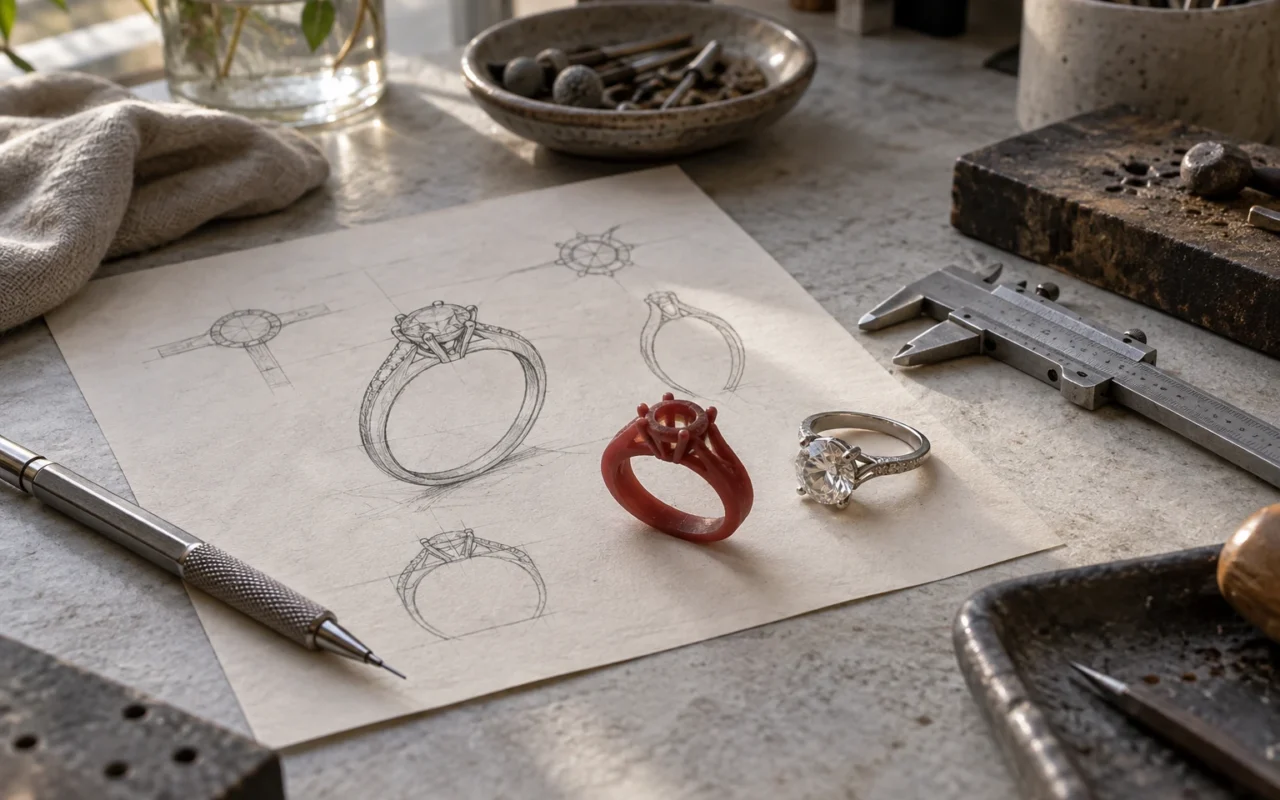
From a Customer’s Idea to a Production Brief
Imagine a customer bringing in a reference photo of a ring. They want to reuse their own gemstone, lower the setting and change the lines of the band. The studio first needs to establish which visual features to retain, how the stone will be set and whether the changes will still work for wearing.
The custom jewelry process turns those ideas into a design that can be approved and a brief that a maker can follow. 3D printed wax models connect digital design with casting, but a smooth order still depends on clear handovers of requirements, versions, manufacturing conditions and acceptance criteria.
1. Turn Reference Images into a Specific Design Brief
Requests such as “lighter,” “more delicate” or “like this picture” often combine several requirements. Lighter might mean less bulk or simply a less heavy appearance when worn. More delicate could refer to the pattern, the setting or just the proportions of the stone and its mount. Clarify these meanings before deciding what to change.
Record the intended use, budget range, preferred metal, available gemstones, ring size or other wearing dimensions, and features that must remain. If the customer has an existing piece, establish whether to reuse its stones, preserve the piece or permit dismantling. For outside reference designs, check their source and permitted use before agreeing on the design scope.
A reference image mainly communicates a visual direction. It does not reveal hidden surfaces or replace manufacturing dimensions. For the hypothetical order above, the brief might read: “Retain the customer’s center stone, assess whether the setting can be lowered and revise the band profile.” This gives both designer and customer a specific subject for review.
The brief can be simple, but every unresolved condition needs an owner and an approval checkpoint. Metal choice affects budget and later processes; a stone that has not been measured leaves the setting unresolved. Keeping these conditions in the brief makes the scope easier to manage than asking for missing information after modeling.
2. Renderings Confirm Appearance; CAD Must Also Define Construction
Sketches help discuss composition, renderings show color, sheen and overall proportions, and a production-ready CAD model must define dimensions, connections and stone-setting geometry. Approval of a rendering confirms the visual direction; the production team must still check whether the model can be made as agreed.

GIA’s jewelry CAD/CAM program includes proportions, dimensions and manufacturing constraints in digital design training. This illustrates why approval needs to address both appearance and structure, rather than the rendering alone.
When lowering a setting, check the clearance between the bottom of the stone and the finger, the prong positions, and the connection between setting and band. Carat weight does not replace measurements of length, width, height and outline. Design the seat around the actual stone and the intended setting method. Even two similarly shaped stones may not fit the same seat without rechecking.
If a maker recommends thicker sections or a different connection, explain why and how the change affects appearance. The customer approves visible changes, while technical staff approve the manufacturing approach; record both. Do not quietly alter an approved shape and then attribute the difference to automatic software processing.
3. Give Physical Prototypes a Clear Purpose
Some questions are difficult to resolve on screen, such as the bulk of a setting, the apparent size of a pendant or the space between adjacent parts. A physical prototype can help, but first define what it should test and how its material can safely be handled and measured.
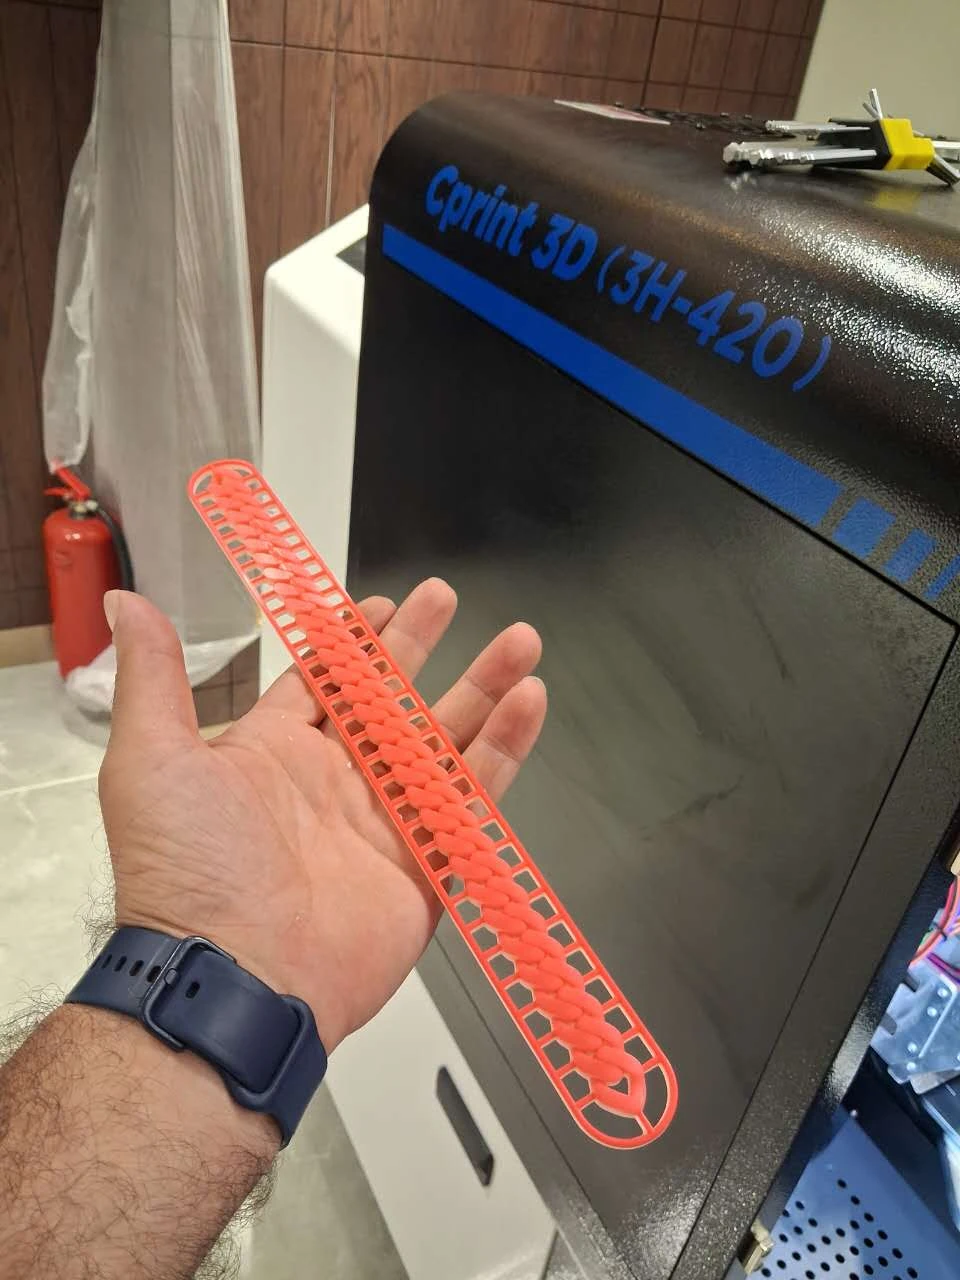
Formlabs’ guide to digital jewelry manufacturing describes using physical prototypes to gather custom-design feedback. For a wax project, select a suitable prototype material separately. Casting wax models can be fragile and should not be treated as durable jewelry for repeated wear trials.
A physical prototype is not a mandatory extra step for every order. If the available information is enough to confirm dimensions and appearance, proceed to manufacturing review as appropriate. If the customer is still unsure about bulk, resolve that question before preparing the production pattern.
Replacing the center stone, changing the ring size or altering the shape requires another check of affected structures. Resizing may affect the band, its connection to the setting and the distribution of decoration. Changing one dimension does not automatically validate everything else. Save each revision separately and record why the previous version was retired.
4. Hand Over a Clearly Approved Production Version
The approved handover should include design files, print files, units, version, quantity, material route, key dimensions and special appearance requirements. The native CAD file retains the editable design; the print file conveys the geometry intended for this production run. They must correspond, so production does not receive a different version from the one the customer approved.
Specify who handles compensation and machining allowances. If design has already added an allowance or dimensional compensation and print preparation adds it again, the adjustment may be duplicated. Discuss uncertain areas with the casting and finishing teams before using any general scale factor.
With a printed-wax casting route, print preparation produces a wax pattern. Remove its supports and inspect it before tree assembly, investing or shell building, dewaxing and metal casting. Cprint 3D’s 3H-420 Plus performs the wax-production stage and directly outputs wax patterns for casting.

If production identifies a risk in the model, record the affected area, proposed change and items requiring renewed approval. Even minor file repairs should be checked for changes to shape. Changes to stone seats, thickness or visible details must return to the approval process.
Manage delivery through checkpoints: design freeze, handover of acceptable wax patterns, and completion of casting and finishing. When a customer requests a change after the freeze, assess the affected work and dates before updating the job. Design approval and completion of the finished piece are different states.
5. Check the Finished Piece Against the Agreement
A metal casting usually still needs sprue removal, shaping, sanding, stone setting and surface finishing. Define which tasks the studio performs and which go to partners. When work moves between organizations, each handover must carry the same approved requirements.

Final inspection can cover three groups: dimensions and wearing requirements, shape and surface requirements, and stone setting and assembly. For a ring, check the agreed ring-size standard, the center stone and its seat, setting height, band profile and key decoration, then confirm the specified surface finish.
When a difference appears, consult the records first. Manufacturing deviations, new customer requests and transport damage need different responses. Do not classify a late change of preference as a process defect, or overlook a finished piece that differs from the approved design because the rendering was once accepted.
For repeat orders, reuse the approved version, key dimensions and essential process records, and reconfirm any changes to gemstones, quantity or material. Finished-piece photographs help assess appearance but are not sufficient on their own for another production run.
6. Use Approval Checkpoints to Reduce Repeated Discussions
The following handover template can be adapted to your business. Identify approvers by name or role rather than simply writing “the customer has seen it.”
| Checkpoint | What to confirm | Who participates | Record to retain | When to reconfirm |
|---|---|---|---|---|
| Requirements | Use, references, budget, stones and dimensions | Customer and order coordinator | Brief and reference material | Changed goals or input information |
| CAD review | Appearance, stone seats, connections and manufacturing conditions | Customer, designer and maker | Versioned model and approval comments | Changed stone, dimensions or structure |
| Physical review | The questions this prototype should resolve | Customer and designer | Question list and physical feedback | Changes needed to bulk or wearing clearance |
| Production freeze | Files, quantity, processes and handover dates | Production lead and relevant partners | Approved files and job sheet | Design revision or changed production route |
| Final delivery | Agreed dimensions, shape and completion state | Inspector and customer | Acceptance record and approved photographs | Deviation or delivery damage |
The table helps the next person understand the basis for the work. Even a small order needs version and approval records that support later review.
Frequently Asked Questions
Can a single photograph go straight to printing?
A three-dimensional model usually needs to be rebuilt, with dimensions and structures that the photograph does not show. Fill those gaps before assessing wax production, rather than guessing hidden features.
Why discuss manufacturing changes after the customer approves a rendering?
A rendering may not fully show connections, stone seats or finishing clearance. The maker should explain the specific need for a change and obtain renewed approval when it affects appearance or agreed dimensions.
What is most useful to prepare before a custom order starts?
Prepare actual gemstone measurements, dimensional requirements, permitted uses of reference images and essential design features. If CAD already exists, specify its version and unresolved questions so wax printing and subsequent work can be assessed together.