
Contents
- What can a jewelry 3D printer do?
- What does a jewelry 3D printer actually print?
- From rings to pendants: which jewelry can use 3D printing?
- Five practical applications of jewelry 3D printing
- What happens between CAD and finished metal jewelry?
- What can 3D printing improve, and what are its limits?
- How can you assess whether your jewelry project is suitable?
- Jewelry 3D printing FAQs
- Start with a representative jewelry design
What can a jewelry 3D printer do?
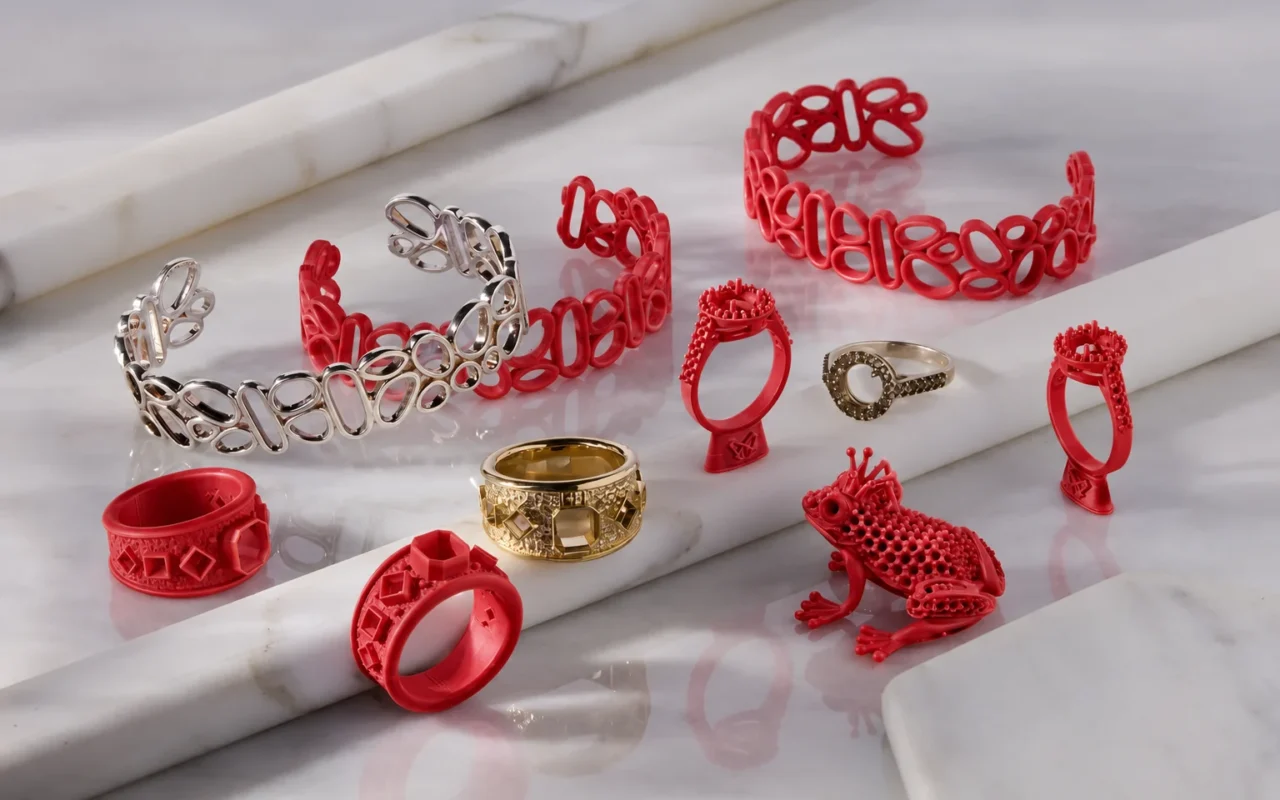
A jewelry 3D printer turns digital designs into physical models or casting patterns for new-product prototyping, custom jewelry, small batches of different designs, complex geometries, and ongoing batch production. A ring that needs a different setting, a pendant collection ready for a trial run, or custom orders in several ring sizes can all start with a 3D file prepared for the appropriate printing process.
However, “3D printed jewelry” can describe several manufacturing routes. A visual model, a wax pattern for lost-wax casting, and a directly printed metal part require different equipment and materials. This guide focuses on a common jewelry manufacturing route: printing suitable patterns, then casting, finishing, polishing, and setting stones to produce metal jewelry.
What does a jewelry 3D printer actually print?
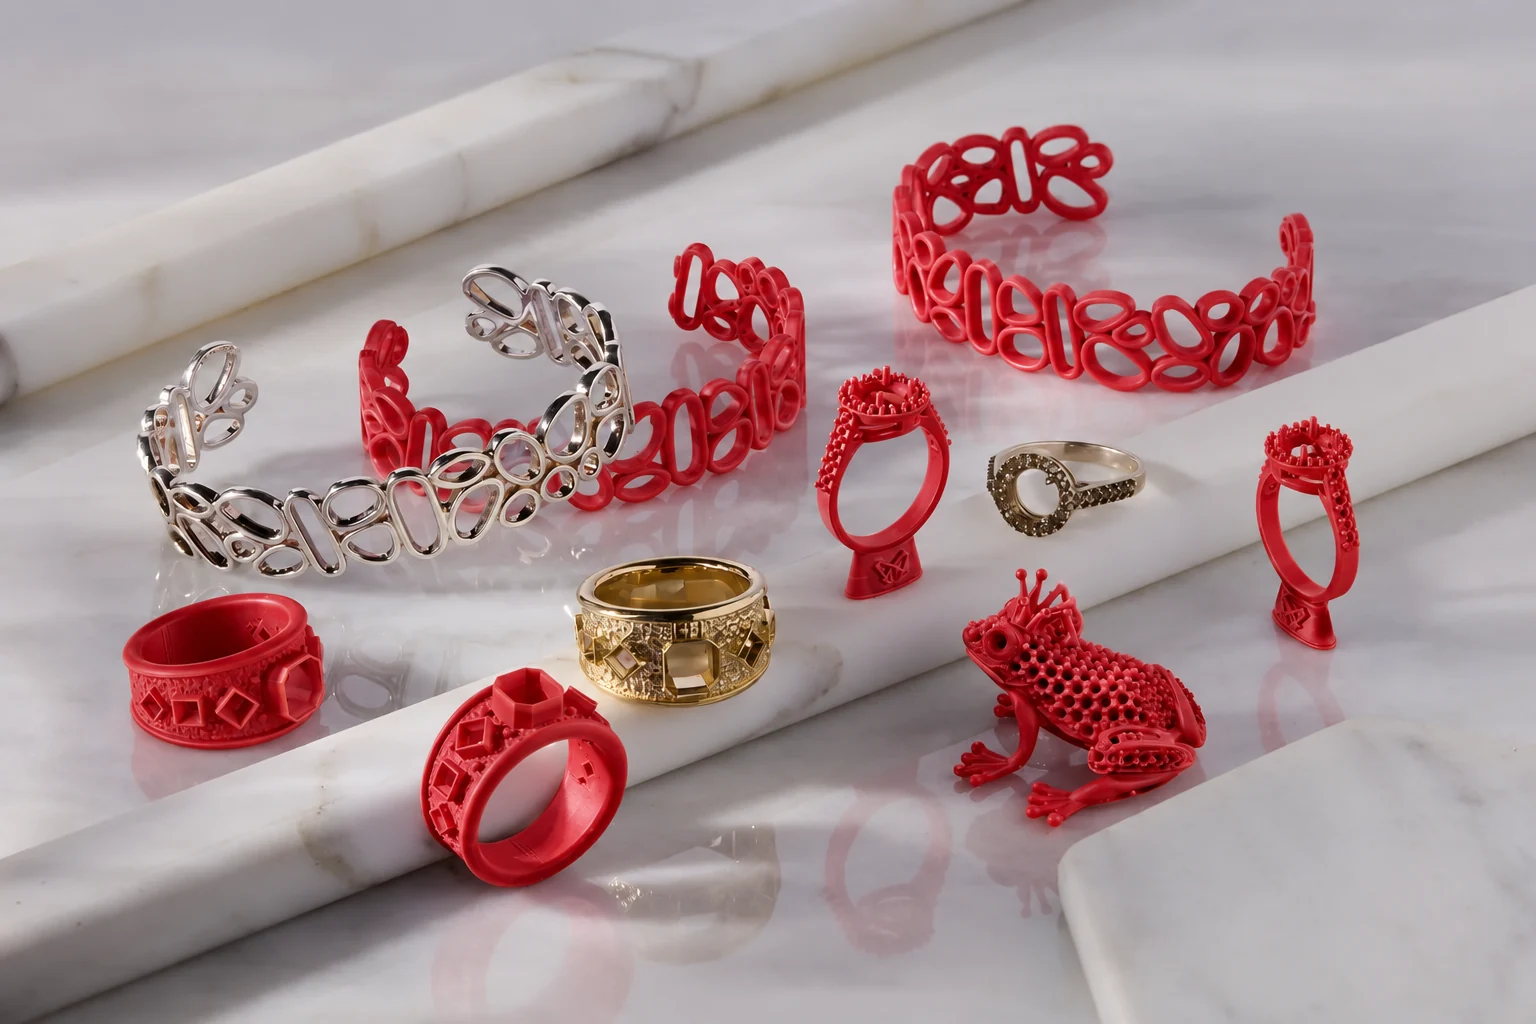
Start by considering what the printer supplies to the next stage. A designer may need a model for comparing proportions. A foundry needs a casting pattern whose dimensions, surface, and material meet the requirements of its process.
| Printed output | Main purpose | Next steps and distinctions |
|---|---|---|
| Display or design-review model | Assess shape, volume, proportions, and detail placement | Revise or approve a design; the material may not suit casting or prolonged wear |
| Wax pattern | Provide an expendable pattern for lost-wax casting | Remove supports, inspect, and assemble on a casting tree; the printed object is still wax |
| Castable resin pattern | Produce a casting pattern for a specified material workflow | Use compatible post-processing and burnout procedures; do not treat it as ordinary wax |
| Master for mold making | Provide the original shape for a duplication mold | Verify material compatibility with mold-making temperature, pressure, and demolding methods |
| Directly printed metal part | Form a metal component through additive manufacturing | Use a separate equipment and material system, usually followed by appropriate support removal and finishing |
Wax patterns are sometimes loosely called “wax molds,” but a pattern is an expendable positive of the jewelry shape, not a reusable duplication mold. Investment material forms a mold around it. Removing the pattern through dewaxing and burnout leaves the cavity that receives the metal.
Wax and castable resin can both serve as casting patterns, but their composition and processing requirements differ. Cleaning, support removal, any post-curing, and the burnout schedule for a castable resin must follow the specific product’s requirements. One procedure cannot simply be applied to every material.
The Cprint 3D 3H-420 Plus, for example, uses red build wax to form jewelry patterns and white support wax to hold their geometry during printing. The support is then removed using the corresponding process. See the build wax and support wax for the 3H-420 Plus for their respective functions and conditions of use.
From rings to pendants: which jewelry can use 3D printing?
Jewelry 3D printing can support the development and manufacture of many types of jewelry. For lost-wax casting, the printed object is usually a pattern for the jewelry body or a castable component. Welding, joining, and assembly still need to be planned as part of the overall manufacturing process.
| Jewelry type | Design tasks | Key checks |
|---|---|---|
| Rings, engagement rings, and commemorative rings | Adjust ring size, settings, shank proportions, lettering, and textures | Critical dimensions, prongs, and allowances for casting and polishing |
| Pendants, badges, and decorative pieces | Create reliefs, lettering, openwork, and layered surfaces | Thin walls, deep-recess cleaning, connection points, and mold filling |
| Earrings and coordinated jewelry sets | Produce matched pairs and different sizes within a collection | Pair consistency, planned weight, and connection features |
| Bangles and castable bracelet components | Create curved textures, repeated units, and complex decoration | Dimensions, structural strength, joining methods, and subsequent assembly |
A bracelet, for example, may use individual link patterns that are cast separately and joined afterward. Printing those patterns does not mean a wax printer can deliver a complete, wearable metal bracelet in one operation. Separating the roles of printing, casting, and assembly makes suitability easier to assess.
Five practical applications of jewelry 3D printing
Prototyping, customization, and production often occur within the same project. A new design is reviewed, trial cast, and then scheduled for orders in different sizes. The following applications show where printing can help with specific tasks.
1. Prototyping: turn an on-screen design into a physical sample
A 3D rendering communicates design intent; a physical model helps assess proportions and spatial relationships. Samples can help compare whether a ring setting sits too high above the shank, whether a pendant and its bail look balanced, or whether a relief remains clear at its actual size.
Decide what each prototyping round needs to establish. A suitable visual model may be enough to compare shapes. To check metal filling, stone-setting positions, or detail after polishing, produce castable patterns and carry out trial casting. The first approach informs design changes; the second tests whether the current process can make the design.
A wax pattern differs from metal jewelry in weight, strength, and feel, so visual approval cannot replace finished-piece validation. Set inspection points for each sample round, record the changes, and use the confirmed file for the next iteration.
2. Custom jewelry: translate sizes, lettering, and personal motifs into patterns
Custom jewelry often adapts a base design with different ring sizes, commemorative lettering, textures, or local motifs. Settings may also need adjustment for different stones. Digital models preserve these versions and turn an approved design into a physical pattern.
For a commemorative ring with several sizes and inscriptions, for example, separate files can be prepared, checked, and scheduled for printing. This retains the design basis for each piece and helps with later changes or repeat orders.
Resizing should not mean simply scaling the entire model and sending it into production. A change in ring size may affect shank thickness, settings, and decorative proportions; added lettering can create thin areas or crowded detail. Check the critical structures in each version and maintain the connection between orders, files, and physical part identifiers.
3. Small batches: support collection trials and mixed orders
When a designer launches a small collection or a brand tests several pendants, quantities per design may be limited while revisions are frequent. Where materials and build layout allow, patterns of different designs and sizes can share a print job, reducing the need for a new dedicated master or wax-injection mold with every change.
A mixed build must account for model height, orientation, spacing, and support removal. Loading fewer complex parts can sometimes make removal, identification, and timely delivery easier. Keep each finished pattern linked to its design so similar shapes or ring sizes are not confused during cleaning or tree assembly.
Evaluate small-batch value across the whole order: which tooling steps were avoided, how much printing and cleaning were added, and whether patterns can reach casting on schedule. For more on layout, support removal, and tree assembly, read the jewelry wax prototyping and small-batch casting workflow.
4. Complex geometries: print openwork, filigree, and textured patterns
Openwork pendants, fine filigree, curved reliefs, and repeated geometric textures are areas where digital design and layer-by-layer manufacturing can be useful. Compared with carving details individually, printing provides a way to organize complex shapes and repeated features from one digital file.
Consider forming and cleaning together when designing complex patterns. Enclosed cavities may trap support material, slender connections may break during handling, and deep recesses or closely spaced features may complicate casting and finishing. Establish how cleaning media can enter and drain, and whether the pattern can be removed intact.
Modeling a shape, printing it, removing its supports, and casting it consistently are separate questions to validate. Include representative thin walls, prongs, and joints in sample tests, then use the gating arrangement, alloy, and trial-casting results to decide whether the design needs adjustment.
5. Batch production: supply accepted wax patterns for casting
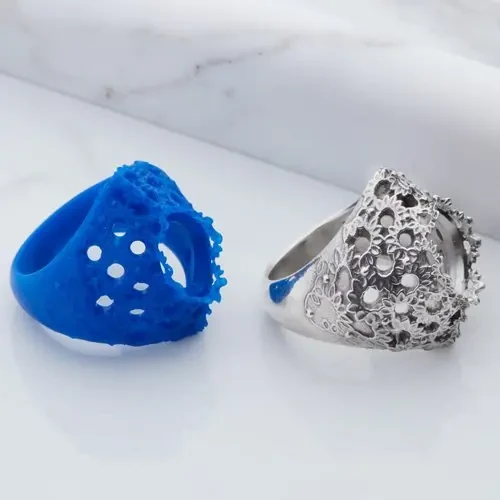
Jewelry 3D printing can also support routine production, particularly orders with many designs, sizes, and recurring adjustments. Confirmed digital files can be scheduled again, linking pattern manufacture to order-version control.
Measure batch capacity by the number of inspected, accepted wax patterns ready for tree assembly within a defined period. The number of parts on a platform describes only one layout. Complete output also involves preparation, printing, cooling or treatment, support removal, inspection, and any rework. More print jobs may not shorten delivery if cleaning or casting stations cannot absorb the output.
Ongoing production also needs consistent acceptance methods and records of material batches, file versions, and key settings. For a stable design repeated in large quantities over time, compare established mold-making and wax-injection routes as well. A workshop can allocate revised or differentiated patterns to printing and use a proven replication process for suitable repeat designs.
What happens between CAD and finished metal jewelry?
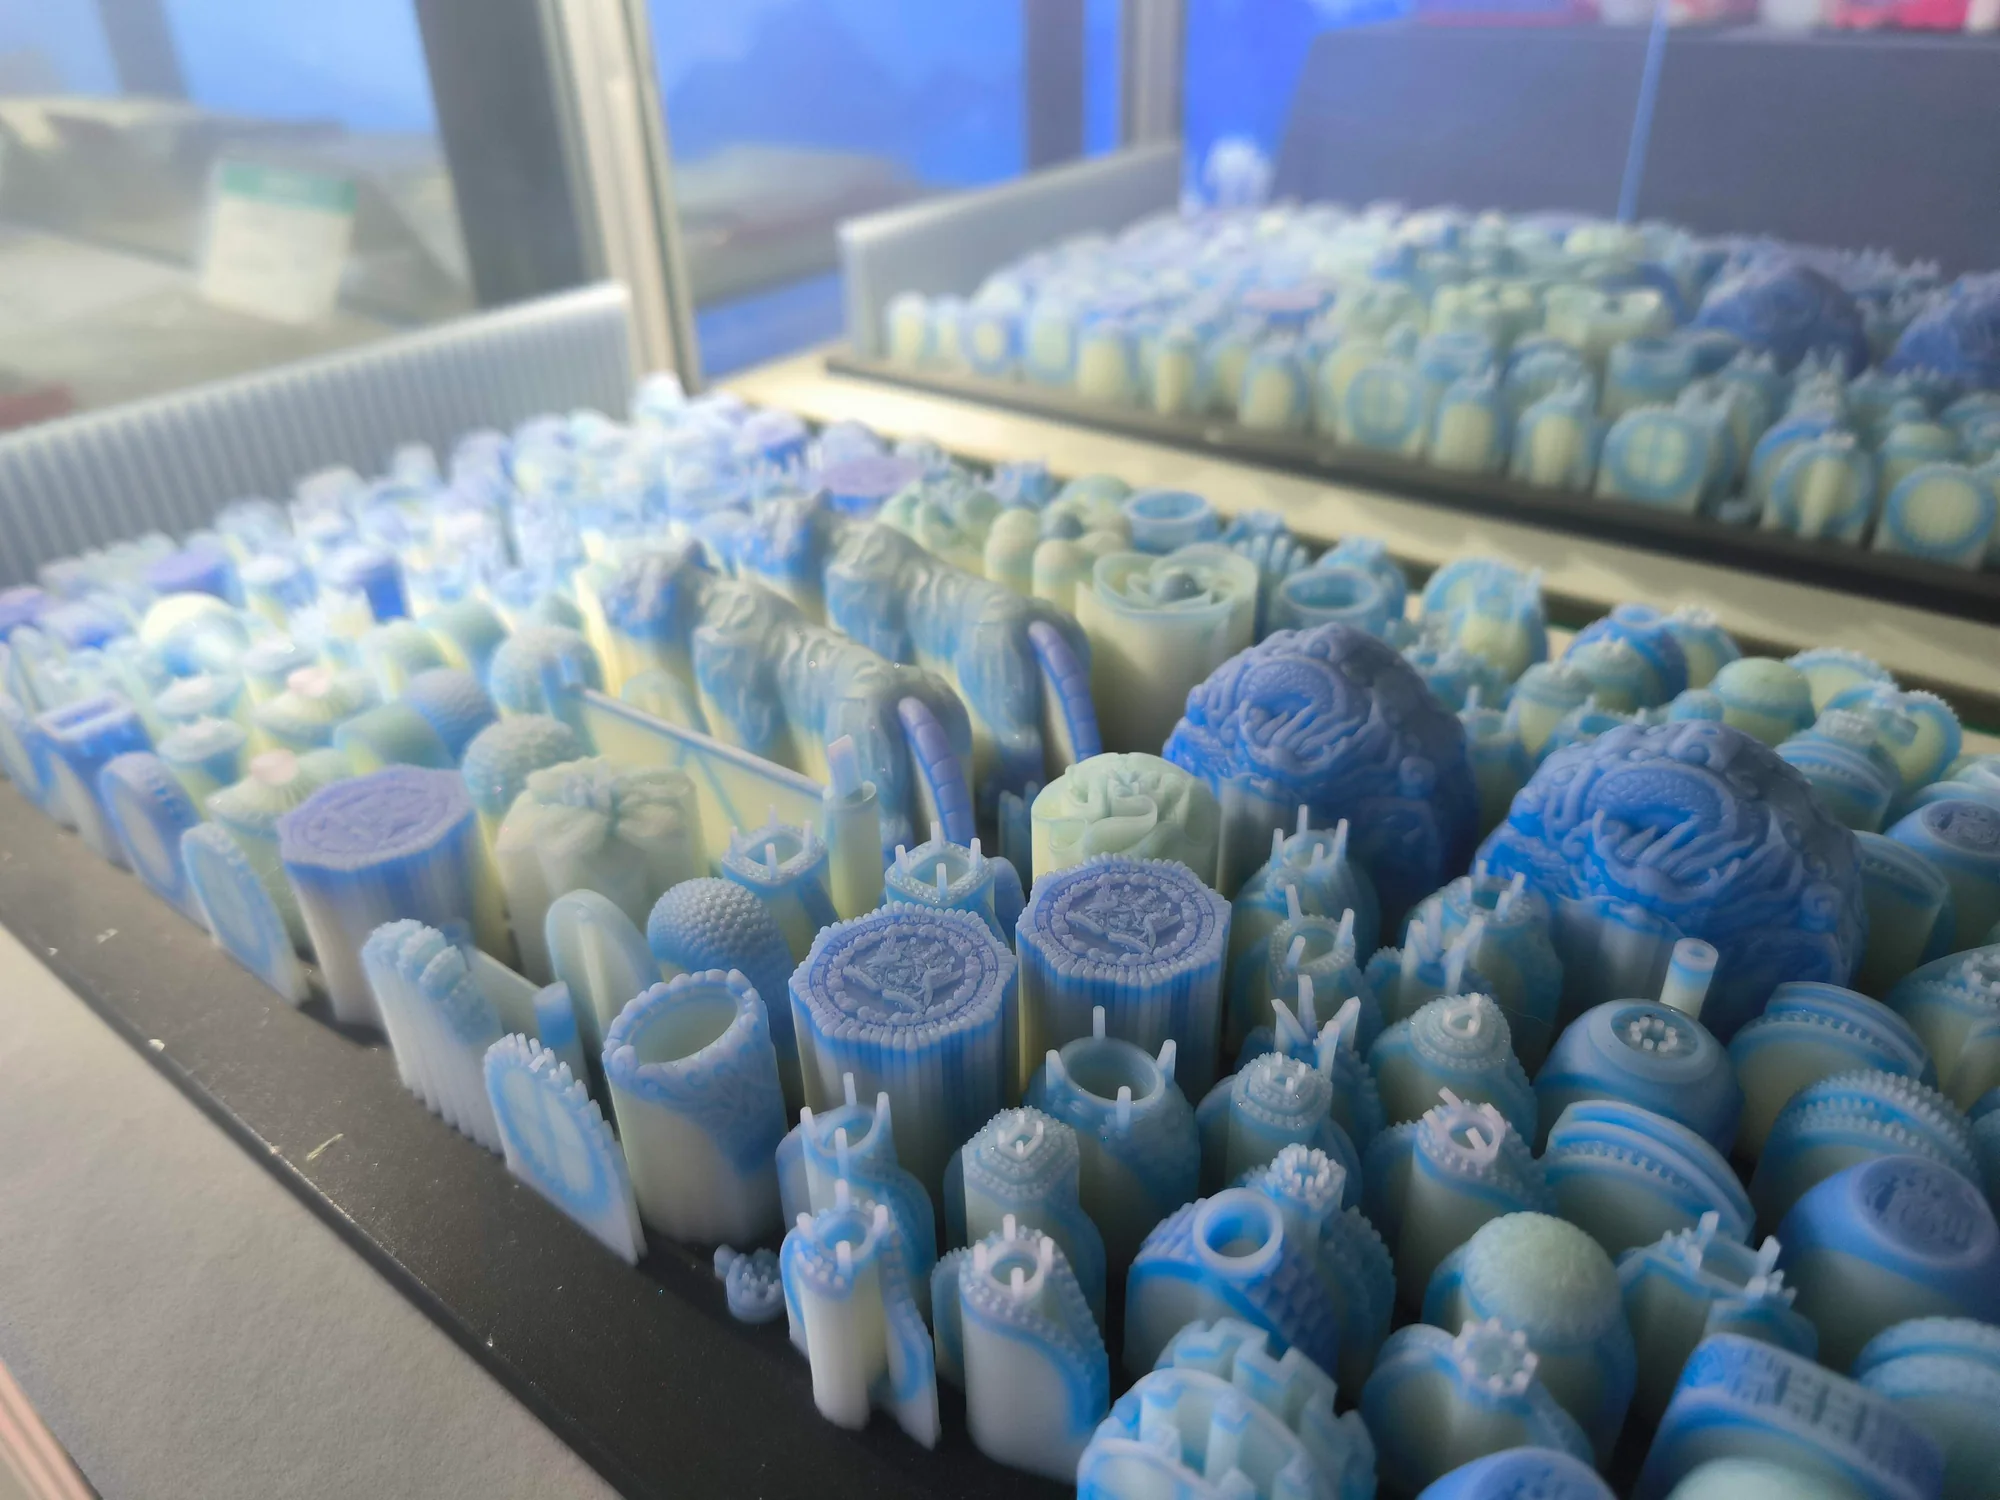
For the route that prints patterns and then uses lost-wax casting, the workflow has six main stages. The quality of each stage influences the results that follow.
- Complete the design and manufacturability review. Check dimensions, wall thicknesses, settings, joints, and detail in jewelry CAD. Consider compensation and machining allowances with the foundry. CAD handles design; slicing and layout software prepares the model for printing.
- Select the material and plan the build. Choose a material for display, trial casting, or production. Check the files, set orientation, supports, and spacing, and retain design and part identifiers.
- Print and post-process the patterns. Remove supports from wax patterns using the corresponding workflow. Treat castable resin according to its material instructions. Temperatures, processing media, and handling methods must suit the material system.
- Inspect and add the gating system. Check critical dimensions, surfaces, residues, cracks, and deformation. Attach accepted patterns to sprues and assemble a casting tree according to the casting plan, allowing for filling and later cutting.
- Invest, dewax or burn out, and cast. Form a refractory mold around the patterns, remove them and condition the mold using a validated schedule, then pour molten metal into the cavity. Investment, pattern material, alloy, and temperature schedule must be compatible.
- Clean, finish, polish, and set stones. After cooling, remove the investment and cut off sprues, then continue finishing the castings. The sequence of stone setting and surface treatments depends on the design and manufacturing process.
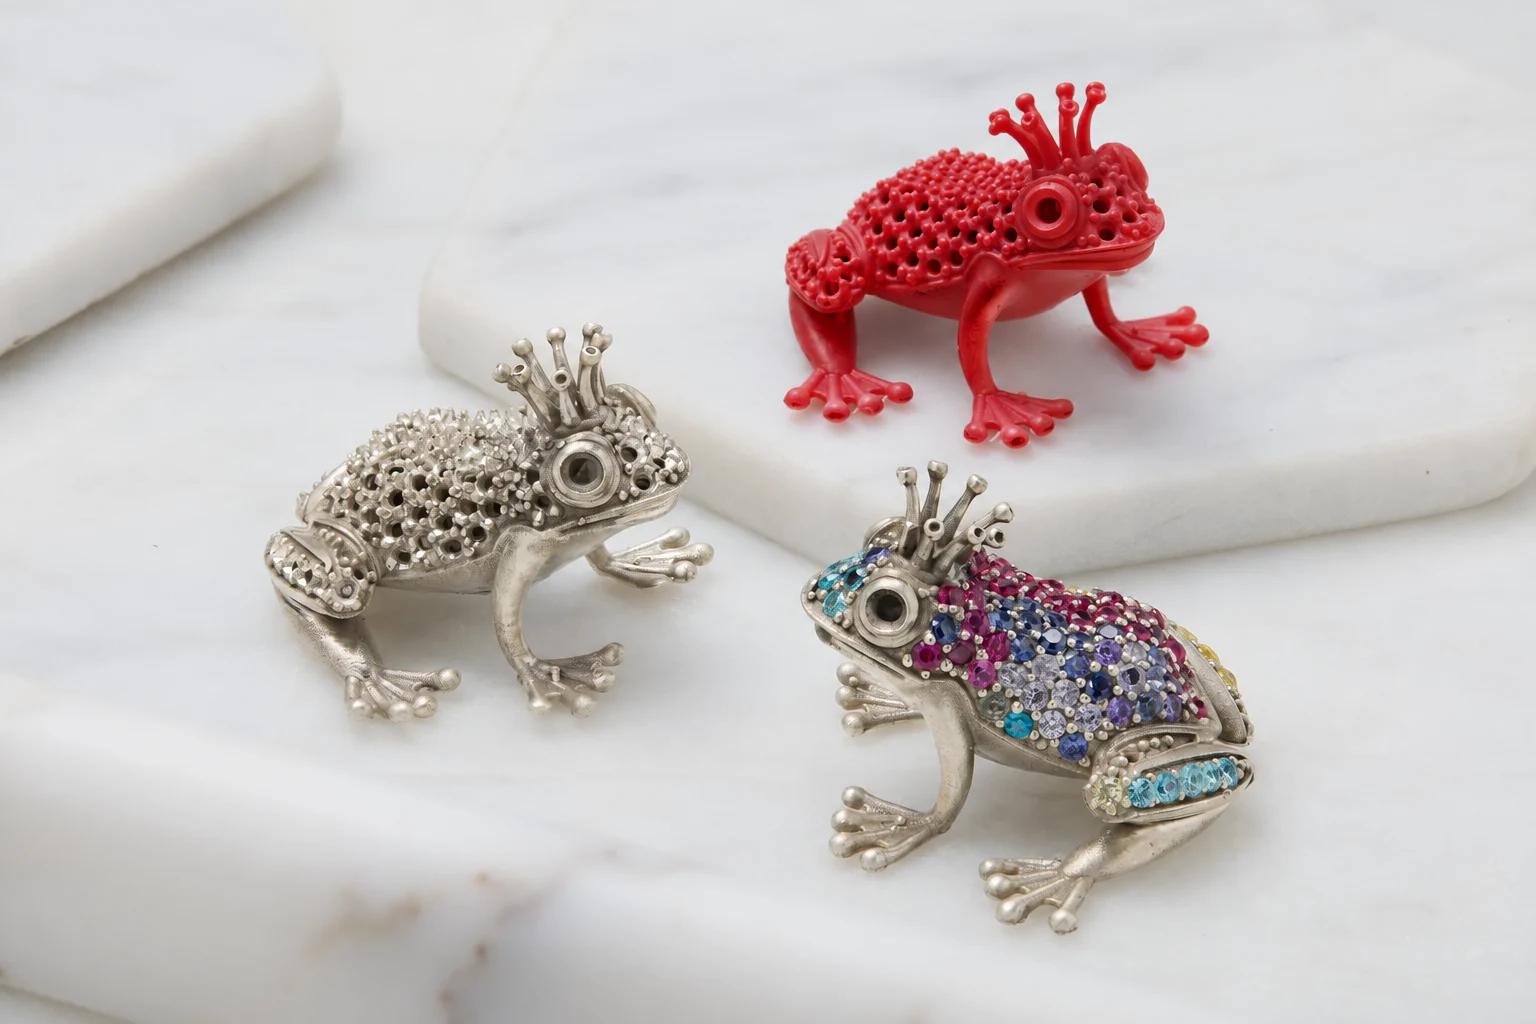
Wax printing mainly changes how patterns are obtained before casting. Final metal dimensions, surfaces, and completeness also depend on gating, investment, burnout, pouring, and finishing. For a comparison with hand fabrication, wax injection, and CNC, see jewelry making methods and 3D printed wax casting.
What can 3D printing improve, and what are its limits?
Much of the value comes from the direct connection between a digital file and a physical pattern. When designs change, versions multiply, or geometries become complex, this connection can reduce repeated preparation and make the basis for revisions easier to retain.
- Design iteration: saved files and revision records allow new samples to focus on a particular feature. The actual turnaround still includes modeling, queue time, printing, and post-processing.
- Differentiated orders: different sizes or motifs can be prepared separately and, where suitable, produced together. Reliable version and part identification remain necessary.
- Tooling preparation: directly printing suitable patterns can reduce reliance on dedicated masters and injection molds. Compare full costs for stable repeat designs.
- Repeat orders and consistency: approved digital designs can be reused, while physical patterns still depend on controlled equipment, materials, processing, and inspection.
Layer thickness or printer resolution is not the dimensional accuracy of the final metal part, and print time is not the order’s delivery time. Compare systems using the same representative design, acceptance requirements, and planned quantity. Record the complete cycle from file preparation to accepted patterns, then account for material, labor, and rework.
How can you assess whether your jewelry project is suitable?
Define the test around your orders rather than selecting a printer solely on claims of high accuracy or speed.
| Project situation | Approach to evaluate | Questions for the sample test |
|---|---|---|
| Many new designs and frequent revisions | Combine digital design with physical prototyping | Can proportions be assessed clearly and changes reproduced accurately? |
| Custom orders with different sizes or motifs | Produce patterns from individual design versions | Can files, orders, and patterns be matched, and differences made consistently? |
| Mixed designs with limited quantities per design | Mixed build layouts and batch processing | Can accepted patterns be delivered on time after cleaning and identification? |
| Complex openwork and fine textures | Validate geometry, materials, and casting together | Are details intact, supports removable, and trial castings acceptable? |
| One stable design repeated in large quantities | Compare printing with mold making and wax injection | Which route offers suitable cost per accepted part and ongoing delivery capacity? |
Before testing, prepare representative CAD files, critical dimensions, planned quantities and design variations, the intended alloy, your existing casting workflow, and current difficulties. If your orders include fine prongs, deep recesses, and differently sized parts, the samples should cover those features rather than relying on one easy display piece to judge the whole order.
To see how equipment fits into practical workflows, explore wax pattern printing for jewelry manufacturing. For a specific machine assessment, use the material system, build volume, and preparation workflow of the 3H-420 Plus jewelry wax 3D printer to define tests that represent your orders.
Jewelry 3D printing FAQs
Can a jewelry 3D printer print gold or silver jewelry directly?
It depends on the system. Wax and castable resin printers make patterns for subsequent casting and finishing. Direct metal printing uses different equipment and materials; compatibility with a particular precious metal must be checked for that system.
What is the difference between a wax pattern and a jewelry mold?
“Wax mold” is sometimes used informally for a wax pattern: an expendable positive used in casting. Reusable rubber or silicone molds replicate patterns, while an investment mold receives molten metal after the pattern is removed. Specify which object you mean when discussing the process.
How should you choose between wax and castable resin?
Compare printing, support removal, handling, trial-casting results, and complete costs using representative designs. Both can provide patterns, but their materials, post-processing, and burnout requirements differ. Compatibility with your existing casting conditions is an important selection factor.
Is 3D printing only suitable for jewelry prototypes and small batches?
It can also serve validated batch-production tasks, especially varied designs, multiple sizes, and custom orders. Assess capacity through accepted patterns over a complete cycle. Compare established molding and injection routes for stable, high-volume repeat designs.
What software is needed to make jewelry 3D printing models?
Designs are generally created in jewelry CAD or another suitable 3D modeling program, then prepared in the printer’s slicing, layout, and build-preparation software. Wukong, for example, handles slicing, layout, and print preparation; jewelry design remains part of the CAD workflow.
How do you calculate the cost of making jewelry with 3D printing?
First decide whether you are costing a pattern or a finished metal piece. Pattern costs include design preparation, equipment use, build and support materials, post-processing, inspection, and rework. Finished jewelry also includes metal, casting, finishing, polishing, and stone setting. Compare equivalent designs, quantities, and acceptance criteria.
Start with a representative jewelry design
To introduce jewelry 3D printing into your business, choose a design that represents typical orders. Decide whether the test should validate appearance, casting results, or batch pattern supply, then use the results to refine your process and production planning.
You can submit a jewelry design for sample evaluation to the Cprint 3D team. Include critical dimensions, planned quantities, the intended alloy, and current casting requirements so the equipment and material discussion starts with a specific task.